
Da Bloody Skull Boys: WIP 3
Welcome back to another breakdown, part three of my Bloody Skull Boyz Ork army. So far we have covered most of the initial 500 point list created for an escalation league. There was only one piece left, and it certainly was the most involved and quite the journey.
The Warbuggy

Official Games Workshop image of the current Warbuggy.
I remember having this back when first buying the second edition starter set. It is a fossil that just looks out of place with kits made in this millennium- I’m not kidding, it came out July 1996 around the second edition codex; older than the wartrak (which is pretty bad these days) and the old bikers. I was determined not to look to the kit for anything, so the hunt began. Those who know me know that I shy away from most non GW bits or kits, so third party was out. It was looking like I was building this puppy from the ground up! Fortunately, I had a mountain of bits at my disposal, by this point, and some other tricks up my sleeve 😉
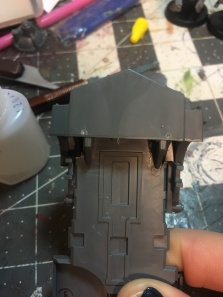
Remember the bike with the servohauler dome piece? Well, the idea for it spawned because I cut the dome portion off for this:


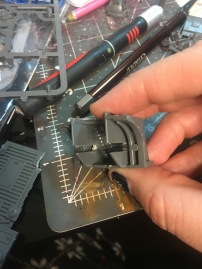
I had eyed the front grill from that kit for a while, feeling it would make for a great buggy. Having diced up a Taurox for my Trukk, I had a truck bed that I felt would work well, with the grill, to form the start. I had to modify each, seen above, to get them to connect. Cutting a notch in the back frome of the grill and then two on each edge of the truck bed, allowed them to fit together, seen below. I could already tell that this was going to be a collage from a number of different kits.
So far our kit count was two *(2).
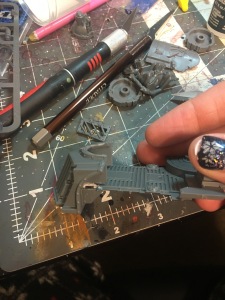

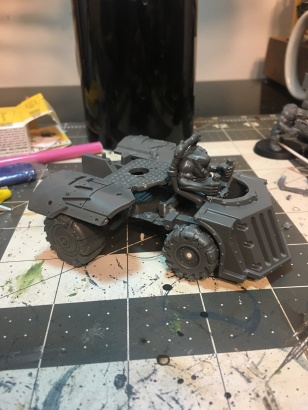
I used frame bits from the ork trukk kit (3) to seat the wheels, cutting and trimming so they would rest flush on the sides of the truck bed.
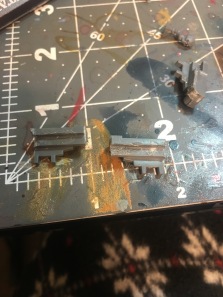
While not shown, this was done for both the front and back wheels. The axel for each was created out of plastic rod, connecting each wheel and resting into the notch created by the ork trukk bits. The wheels for this came from the warbiker kit (4) and Mek gun kit (5); seen below.
 I may have gotten a little build happy, finding a groove, and pictures went to the wayside. Not to fret, I shall explain!
The driver was pulled from the ork trukk kit, with left over bit from the frukk frame used to steady the back. The back wheel wells were created from the Mek gun kit. The two door pieces from that kit were used to create the frame for the lager pieces that made up the cover, sitting on top of them. The center platform from the mek kit was placed into the center of the buggy, to form the turret base. At this point, the buggy was really starting to piece together. Just needed to mount the gunner, engine and clean it all up a bit.
 I added some piping, cut from the ork trukk turret, to stabilize the turret base. Using the rest of the trukk turret, I created a bit of a roll cage, seen to the right. It was pieced together using plastic rod, ork trukk, and mek gun bits; used to hold the turret in place and also wrapping around the engine. I snipped off the parts of the old taurox truck bed, at the tail end, to make it flush and sat the ork trukk engine in the space between the cage.
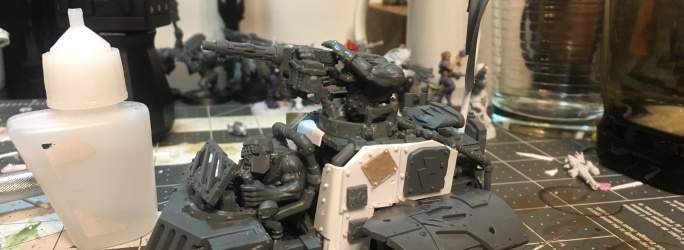
I built the rest of the turret as per standard ork trukk kit, using a warbiker dakkagun at first before swapping it out with the ork trukk gunner and big shoota. A 32mm base was used to stabilize and fill the gap between the turret bucket and the base. The driver received a head from the Megamobz kit (6) and a visor screen from the trukk kit. Finally, I trimmed off the gas tank from the ork trukk kit and fixed it onto the side. The meat of this buggy was finished!! That turret center just looked off, and unsightly, though. It was time to break out the plasticard!


Two types of plasticard were used here, plain white card from Evergreen and some diamond plate sheeting from Plastruct. I started by creating a frame sheet on each side, shaped to slide right in and neatly cover the entirety of the gap. Once in place, I cut different shapes and fixed them onto the sides. In addition to the plating, I took ork glyphs from the trukk kit and the flash gitz kit (7) and glued them on, as well. Once all plating was in place, I cut every small pieces of thin plastic rod into rivets and glued them around the edges of the plating, as seen before on my ork trukk. The final touch was adding the flag. This was made out of a flag from the Ironjawz Ardboys kit (8). I cut the beastman head out of it, fitted the skull front of a warbike in, and greenstuff gapfilled the connection points.
In the end; eight kits, one buggy! It was a lengthy build but a really fun one. With that build behind me, it was now time to put some paint to them. Part 4, to come soon, will tell a tale of a date with the warboss!
Please feel free to message if there is anything I may not have covered.
As always, thanks for reading!
❤ Soph

Da Bloody Skull Boyz: WIP 1
Orks has always been in my heart, ever since the pointy hat days of 2nd edition starter boxes. I have done all sorts of different incantations of them, my most recent having been some freebootaz that I began (and promise to finish!). My local Warhammer store is starting up an escalation league in January and I thought that it would be a great opportunity to crank some orks out. Instead of freebootaz however, I decided to go with speed freaks. There have been some conversions that I have been dying to play around with, and I figured this would be my chance.
I first outlined what would be in my starting 500 points list: Zhadsnark, 6 bikers, 1 buggy and a trukk with 10 boyz. I have wanted to mess around with making an ork trukk for some time, but the viability has been a bit lacking. Now they seem to be worth putting on a table, so my ideas are getting to see light. The ork trukk kit is great, mind you; It really gives a nice ramshackle look. I had something different in mind, however, and looked toward the Taurox model for the answers. I really liked the front of the taurox, and thought it would look fantastic as the front of a trukk.
I started by assembling the front to the bottom/bed of the taurox, as indented. While I did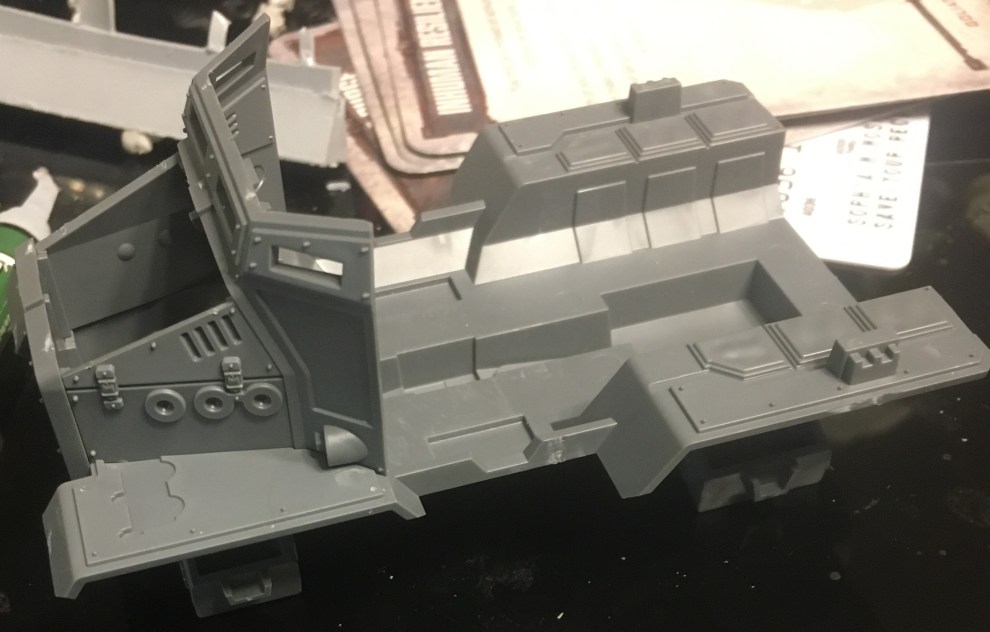 add the supports for the tracks, as seen in the picture above, I eventually chose to remove them. They did not work quite as well as I had hoped, for putting the wheels on.
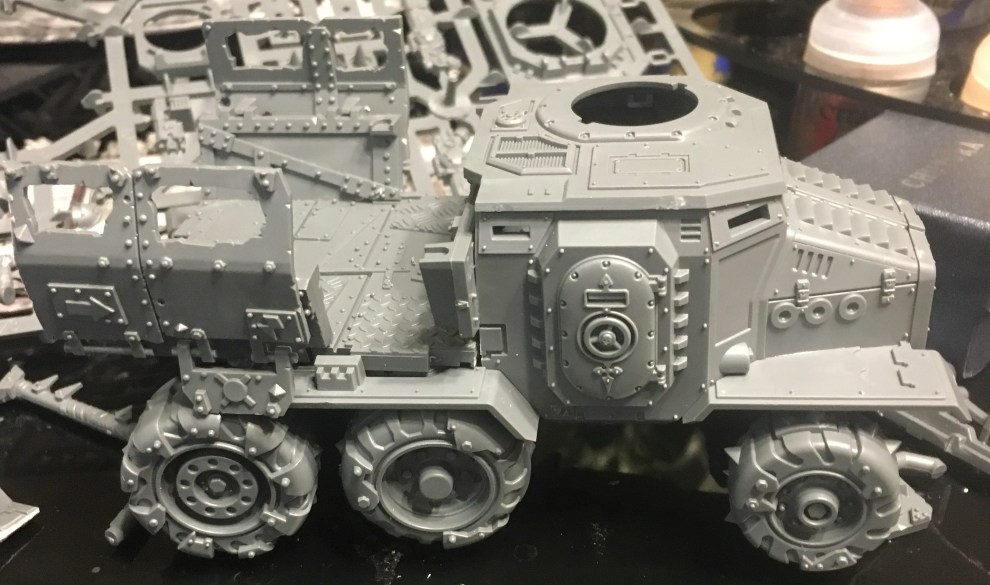 These two kits, at times, seemed like they were made for one another. I had to shave the bottom of the ork trukk bed, but ultimately it fit on surprisingly well. The trukk bed was built per the kit, with the front of the bed used to seal off the back of the cab, built to taurox kit standards, as well. The wheels were mounted on using the axels/frame of the ork kit. I shaved down the rounded center, to sit flush against the undercarriage. The whole build ended being a little longer than the original ork trukk, so I needed to use some plastic rod to connect the front wheel axel to the rear wheels.
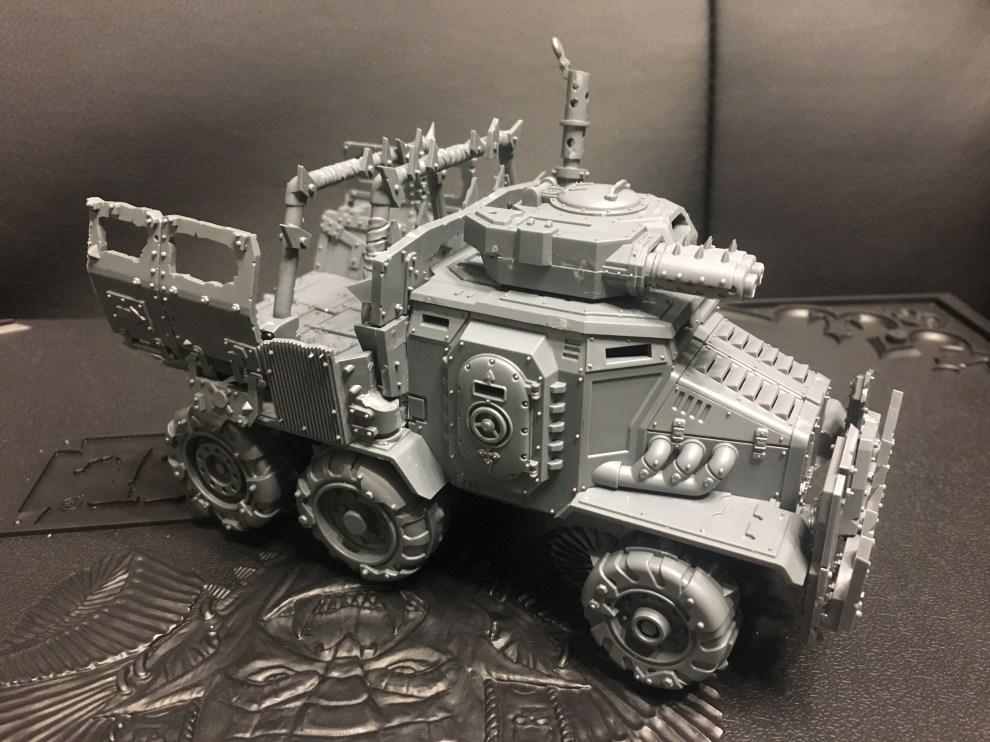 I added the standard piping to the taurox and gave it the ork trukk smoke stack on the side. I used two big shootas from the deff dread kit (I think that’s where they came from) and cut them to fit the turret hatch on the top of the taurox. For the back of the trukk, I added the roll cage bars, filled the gaps on the sides by cutting the corrugated trukk bit in half and shaving the ends down enough to fit against the sides. The hardest bit was the top half of what I used for the back of the cabin. The top of the taurox cabin has a lip in the back, so I had to cut the piece so that it could slide in with the lip inserting into it.
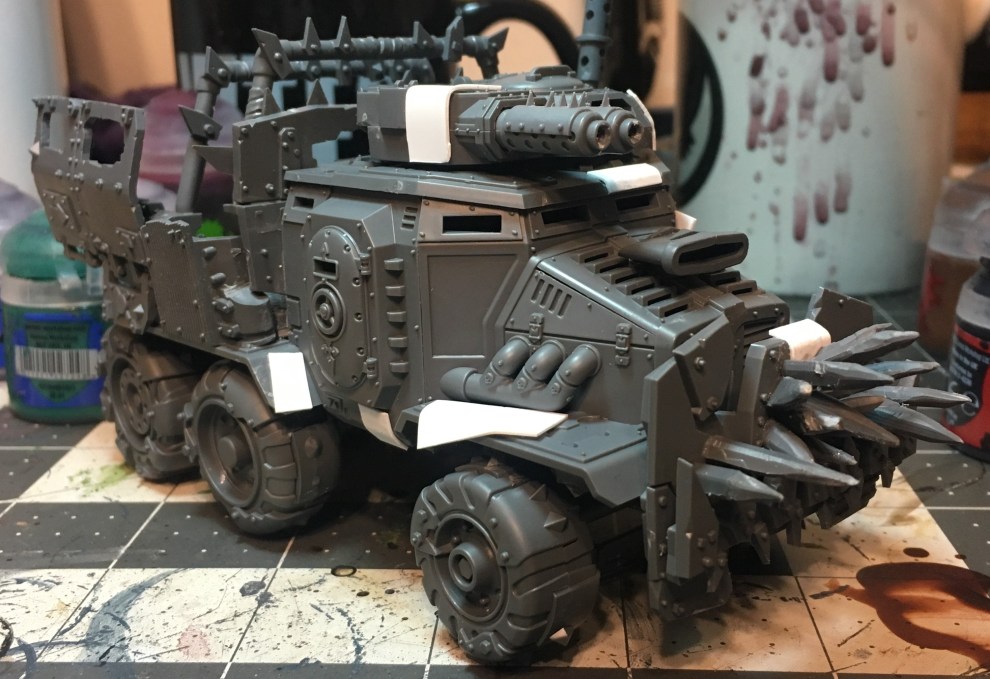 Let’s be honest; that taurox front was too clean looking 🙂 So I cut up some plasticard to act as metal sheeting, and glued it across the front, in patches. Cutting the vent off the top of the ork trukk kit engine, I fixed it into the hood by cutting a slot just big enough for the end to slide into. The spikes were made out of leftover sprue, cut and whittled into spikes as I watched Gremlins 2 to pass the time.
 The next step was extremely tedious, but I feel the outcome is well worth it. I used very thin plastic rod and sliced it to make very thin wafers. These served to be my rivets for the plasticard sheeting I added. I went through and glued them, in different densities, to each one. Through each panel, I also drilled a hole here and there, where a rivet should be. It is a nice way to break up the monotony of the task, and it looks like a rivet has fallen out, adding some character to the piece.
At this point, the trukk as primarily finished. I have plans to add spears and some skulls on it, but the core of the build has been completed. Next WIP, I will introduce you to the crazy lot that ride this beast into battle; the bloody skull trukk boyz, and I will talk bikers.
Thanks for reading 🙂 – Soph
