A tale of Two Squiggoths: pt One
The day was May 7th and it had been mostly uneventful, slowly trudging along. We were on the fifth day of Warhammer Fest, which was very enjoyable for the most part. I was excited for the new Soulblight models to come and felt bad that my Hedonites would most likely see the shelf much lover due to it.
The air was different on the 7th, however. It was day two of 40k and we had an idea of what was coming based off from teasers. I grew more and more antsy as time ticked ever so slowly toward go live.
And then… they dropped it.
2017
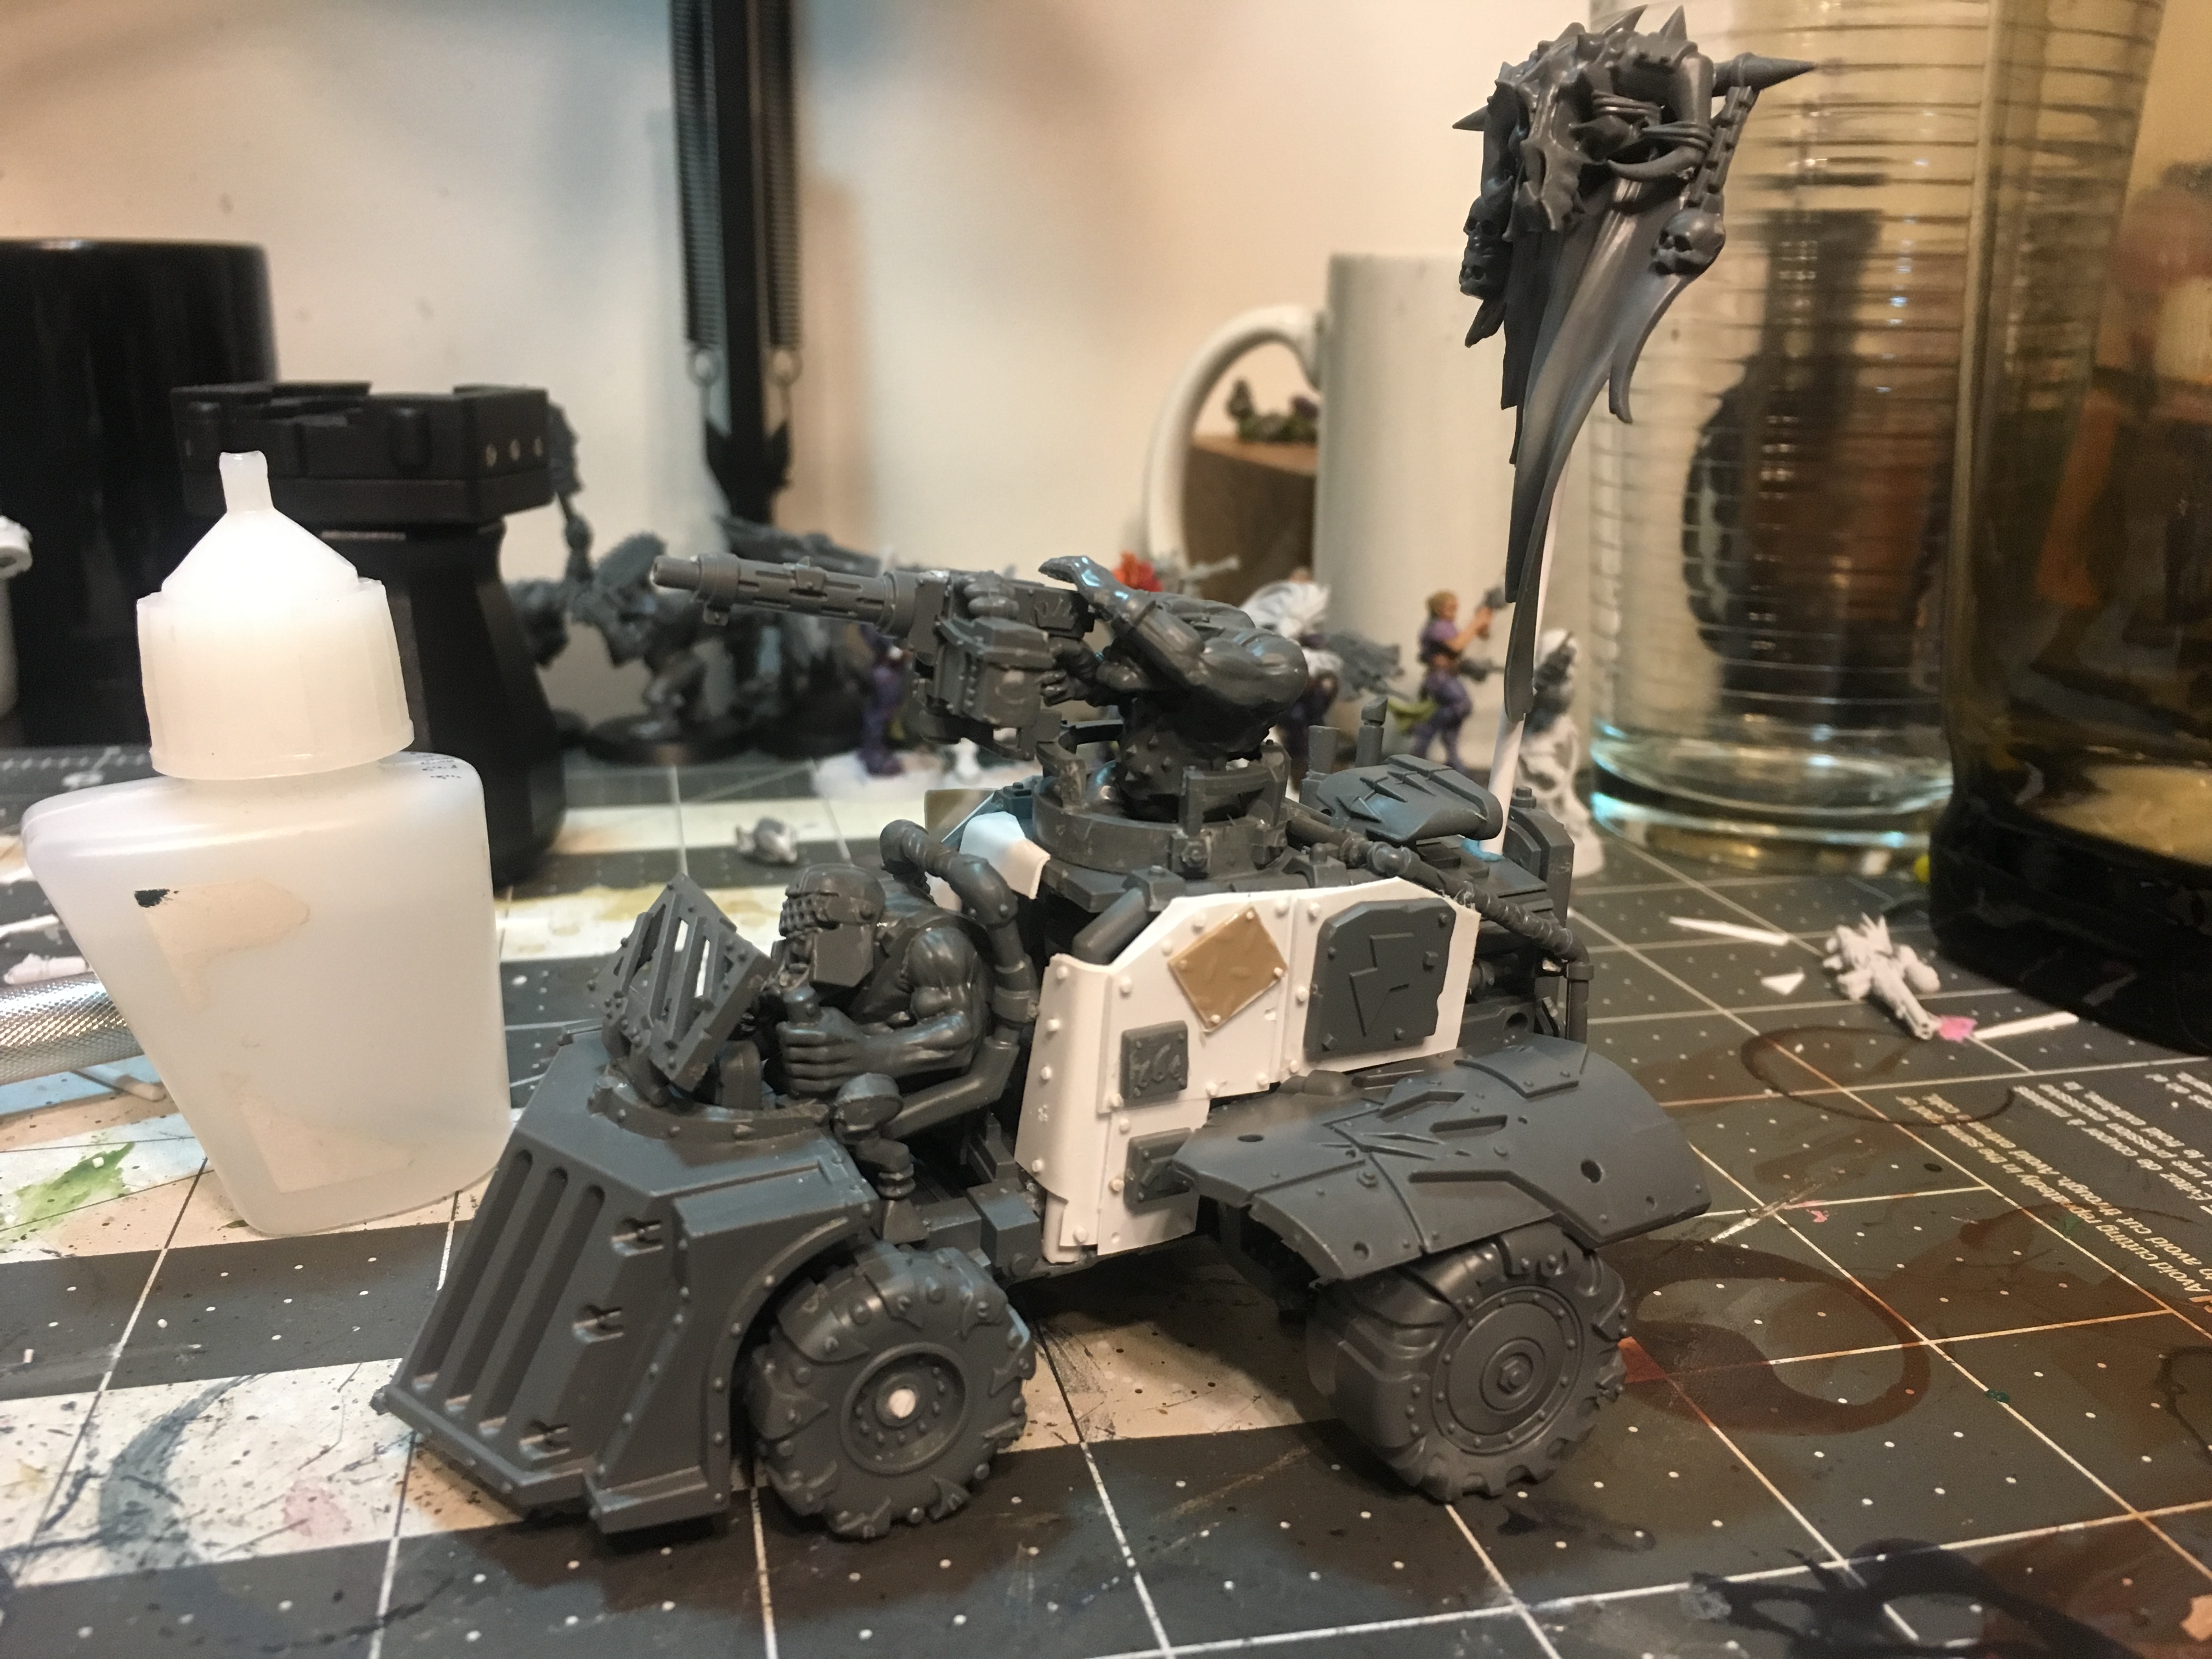
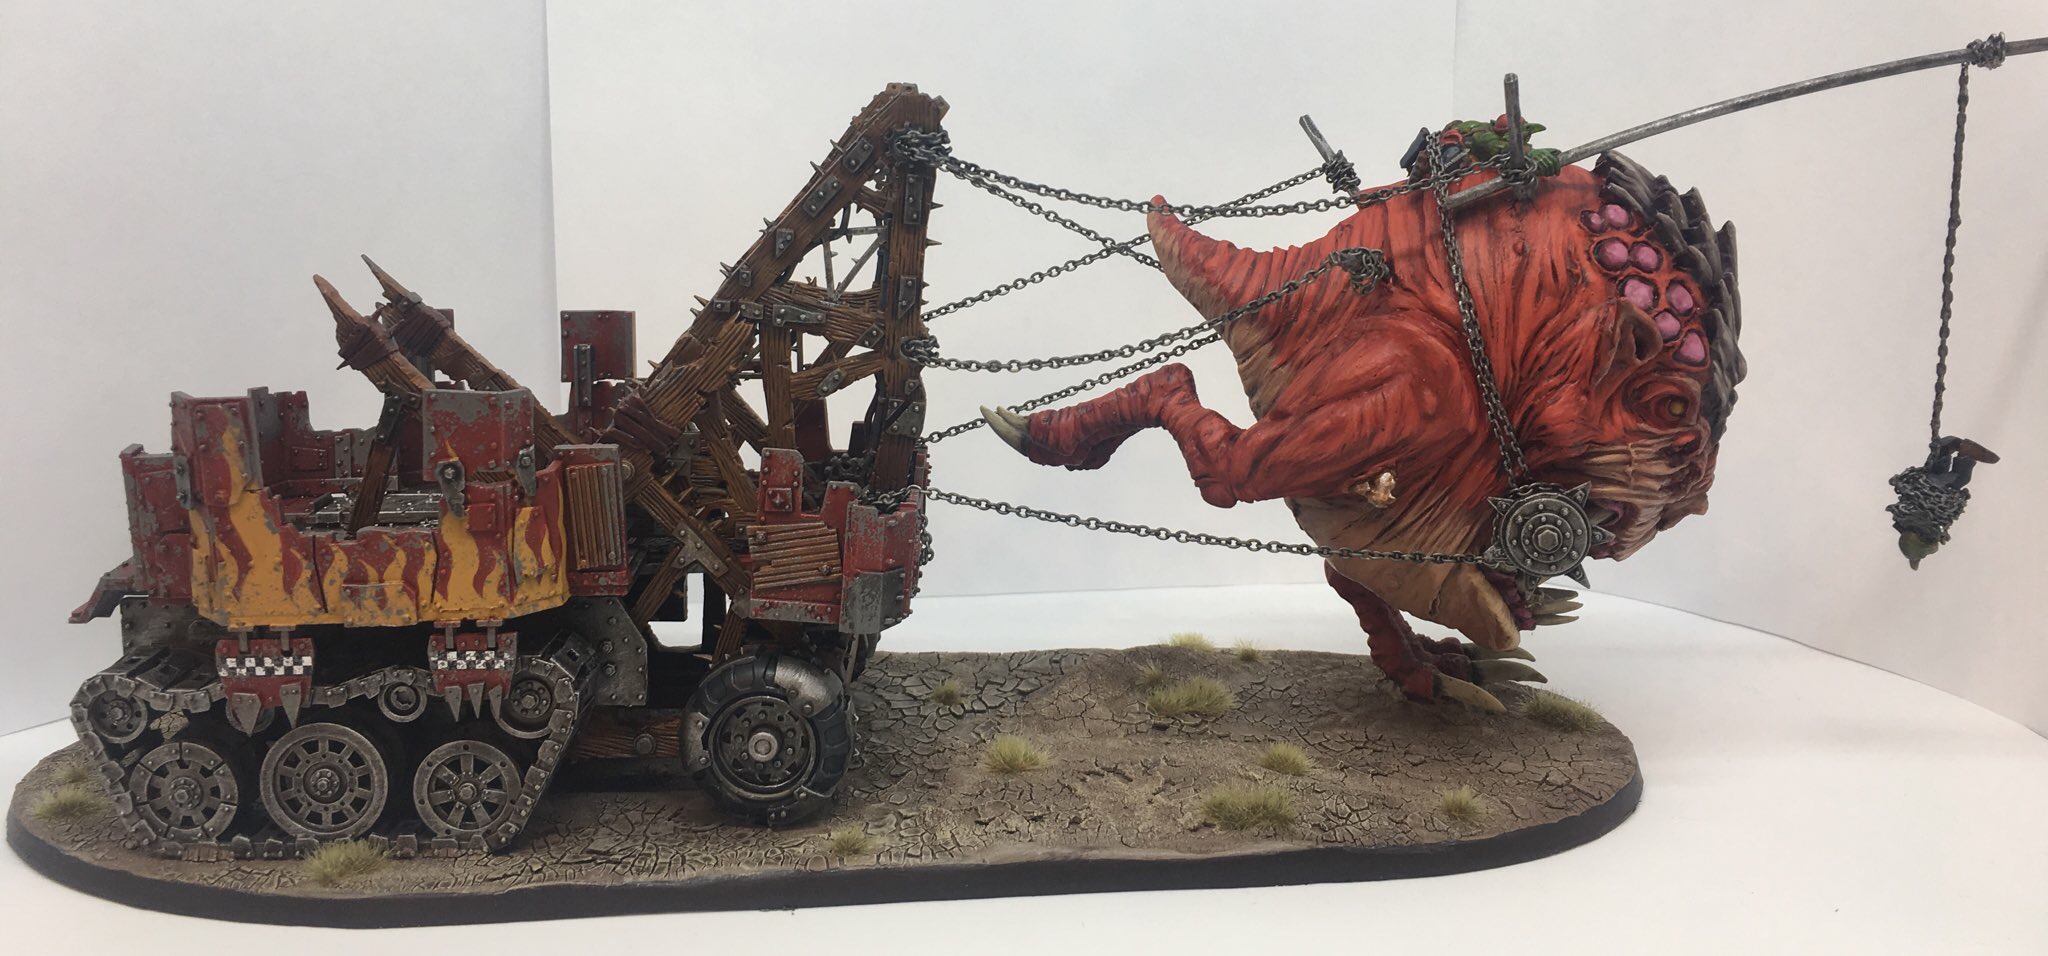
I had started up a new ork force, leaning very heavily into conversions. I called them my Bloody Skull Boyz and my aesthetic was a somewhat tribal half-feral ork army. They had war paint and spears, collected skulls, and really only had trukks and bikes for actual tech. I needed more, though. Something bigger. My ideas started to flood in and eventually I created the model that many of you have either seen on twitter or on the warhammer-community page.

This was supposed to be a battlewagon but ended up so far from my original scope. It was so much fun to build and it started a massive flood of other ideas, involving more and more squigs. The problem was: It was 2017. The only squigs around were extremely expensive and hard to track down. I basked in this project for a while and then eventually others came. Gloomspite Gitz introduced a huge wave of squigs and my mind churned a bit, but it was not enough to spark the fires of the forge.
What it needed was what we received May 7th.
The beast snaggas felt like a love letter from GW, supporting the ideas I’ve had for years and adding official models to the roster, like the squig hogs. I quite literally screamed then they showed the full box. The ideas came flooding back, as if they had never left and I started having even more. I needed to start now; I couldn’t wait for this box to release. There were conversions I could work on while waiting, things to put into the world and compliment the new orks when they finally hit my table.
There’s one model that I have wanted to see redone for ages: The Squiggoth. Now, please keep in mind (as it seems to confuse some) that we are NOT talking about the gargantuan Squiggoth.
This absolute chonk has a wonderful model, which sits in my closet partially painted. I definitely plan on finishing him up soon, but there are more pressing projects, not to mention a gargantuan most likely won’t see much game usage. No, I am talking about the regular squiggoth
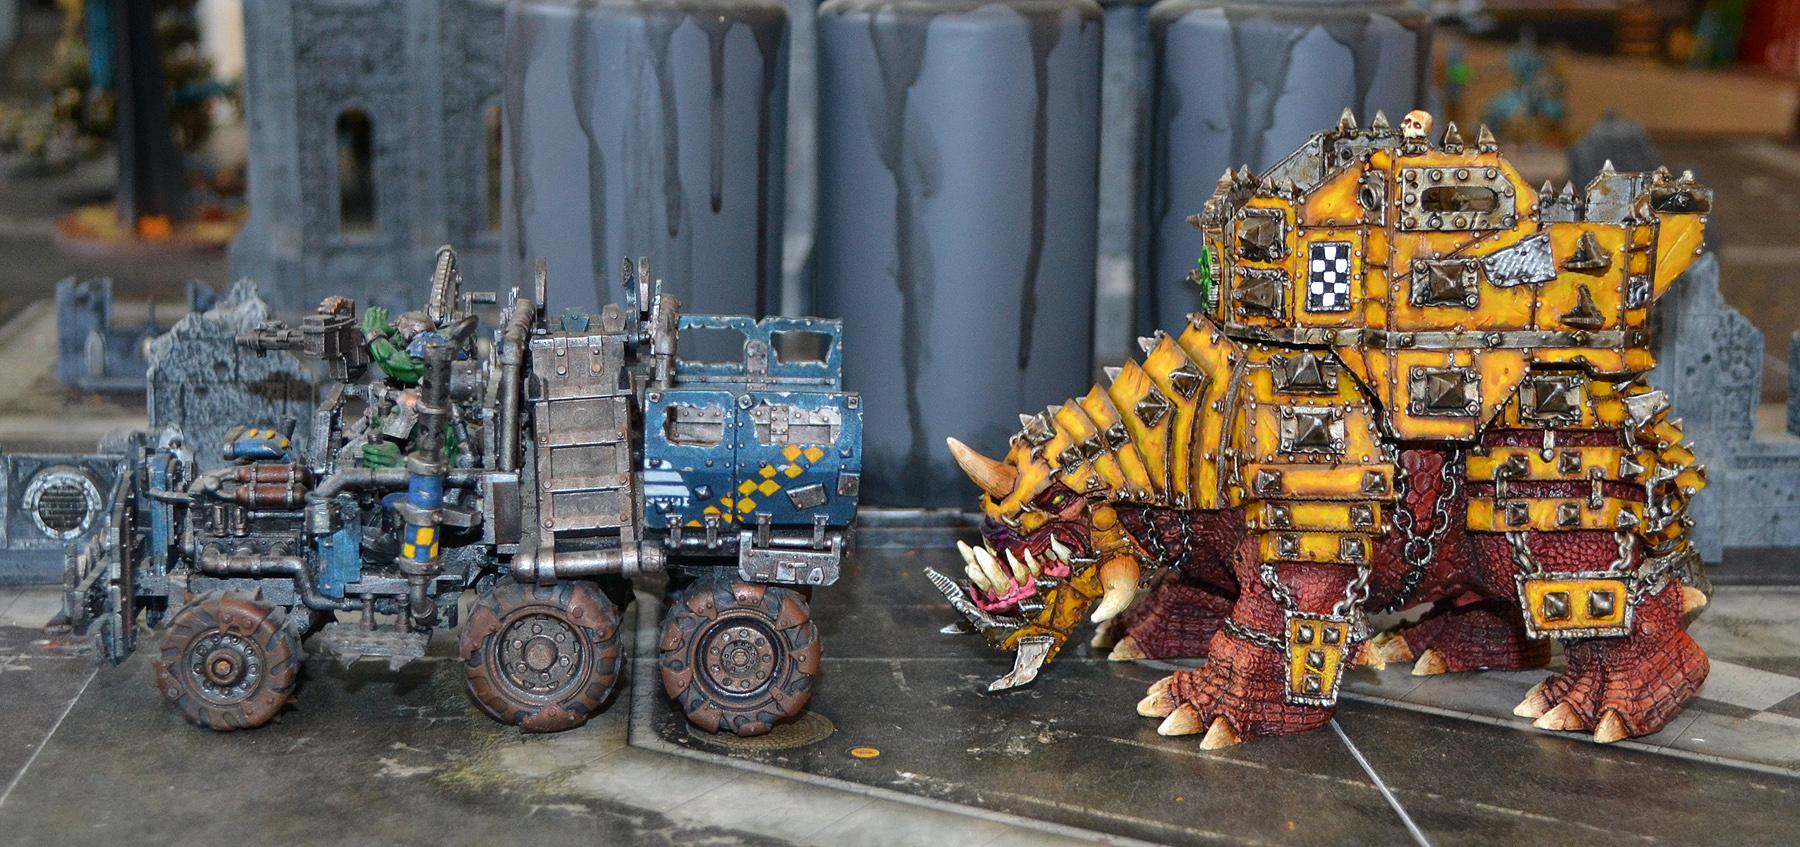
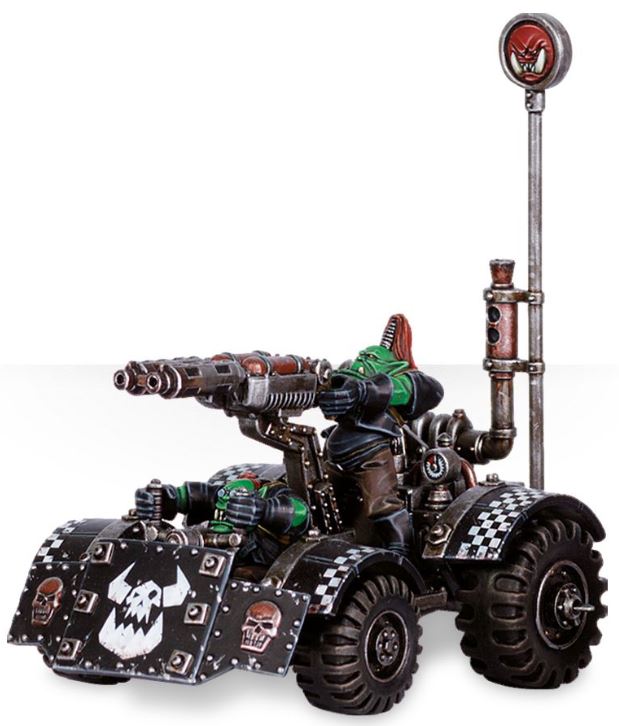
Here we see him side by side with the most recent rendition of ork trukk and he is just…not that great. In his defense, he is an old model and the paint job here is doing him a lot of favors. He just looks like an uninspiring block, though. I wanted something with a fresher take, something that might not be bigger in size but has a bit more character.
So I started my own.
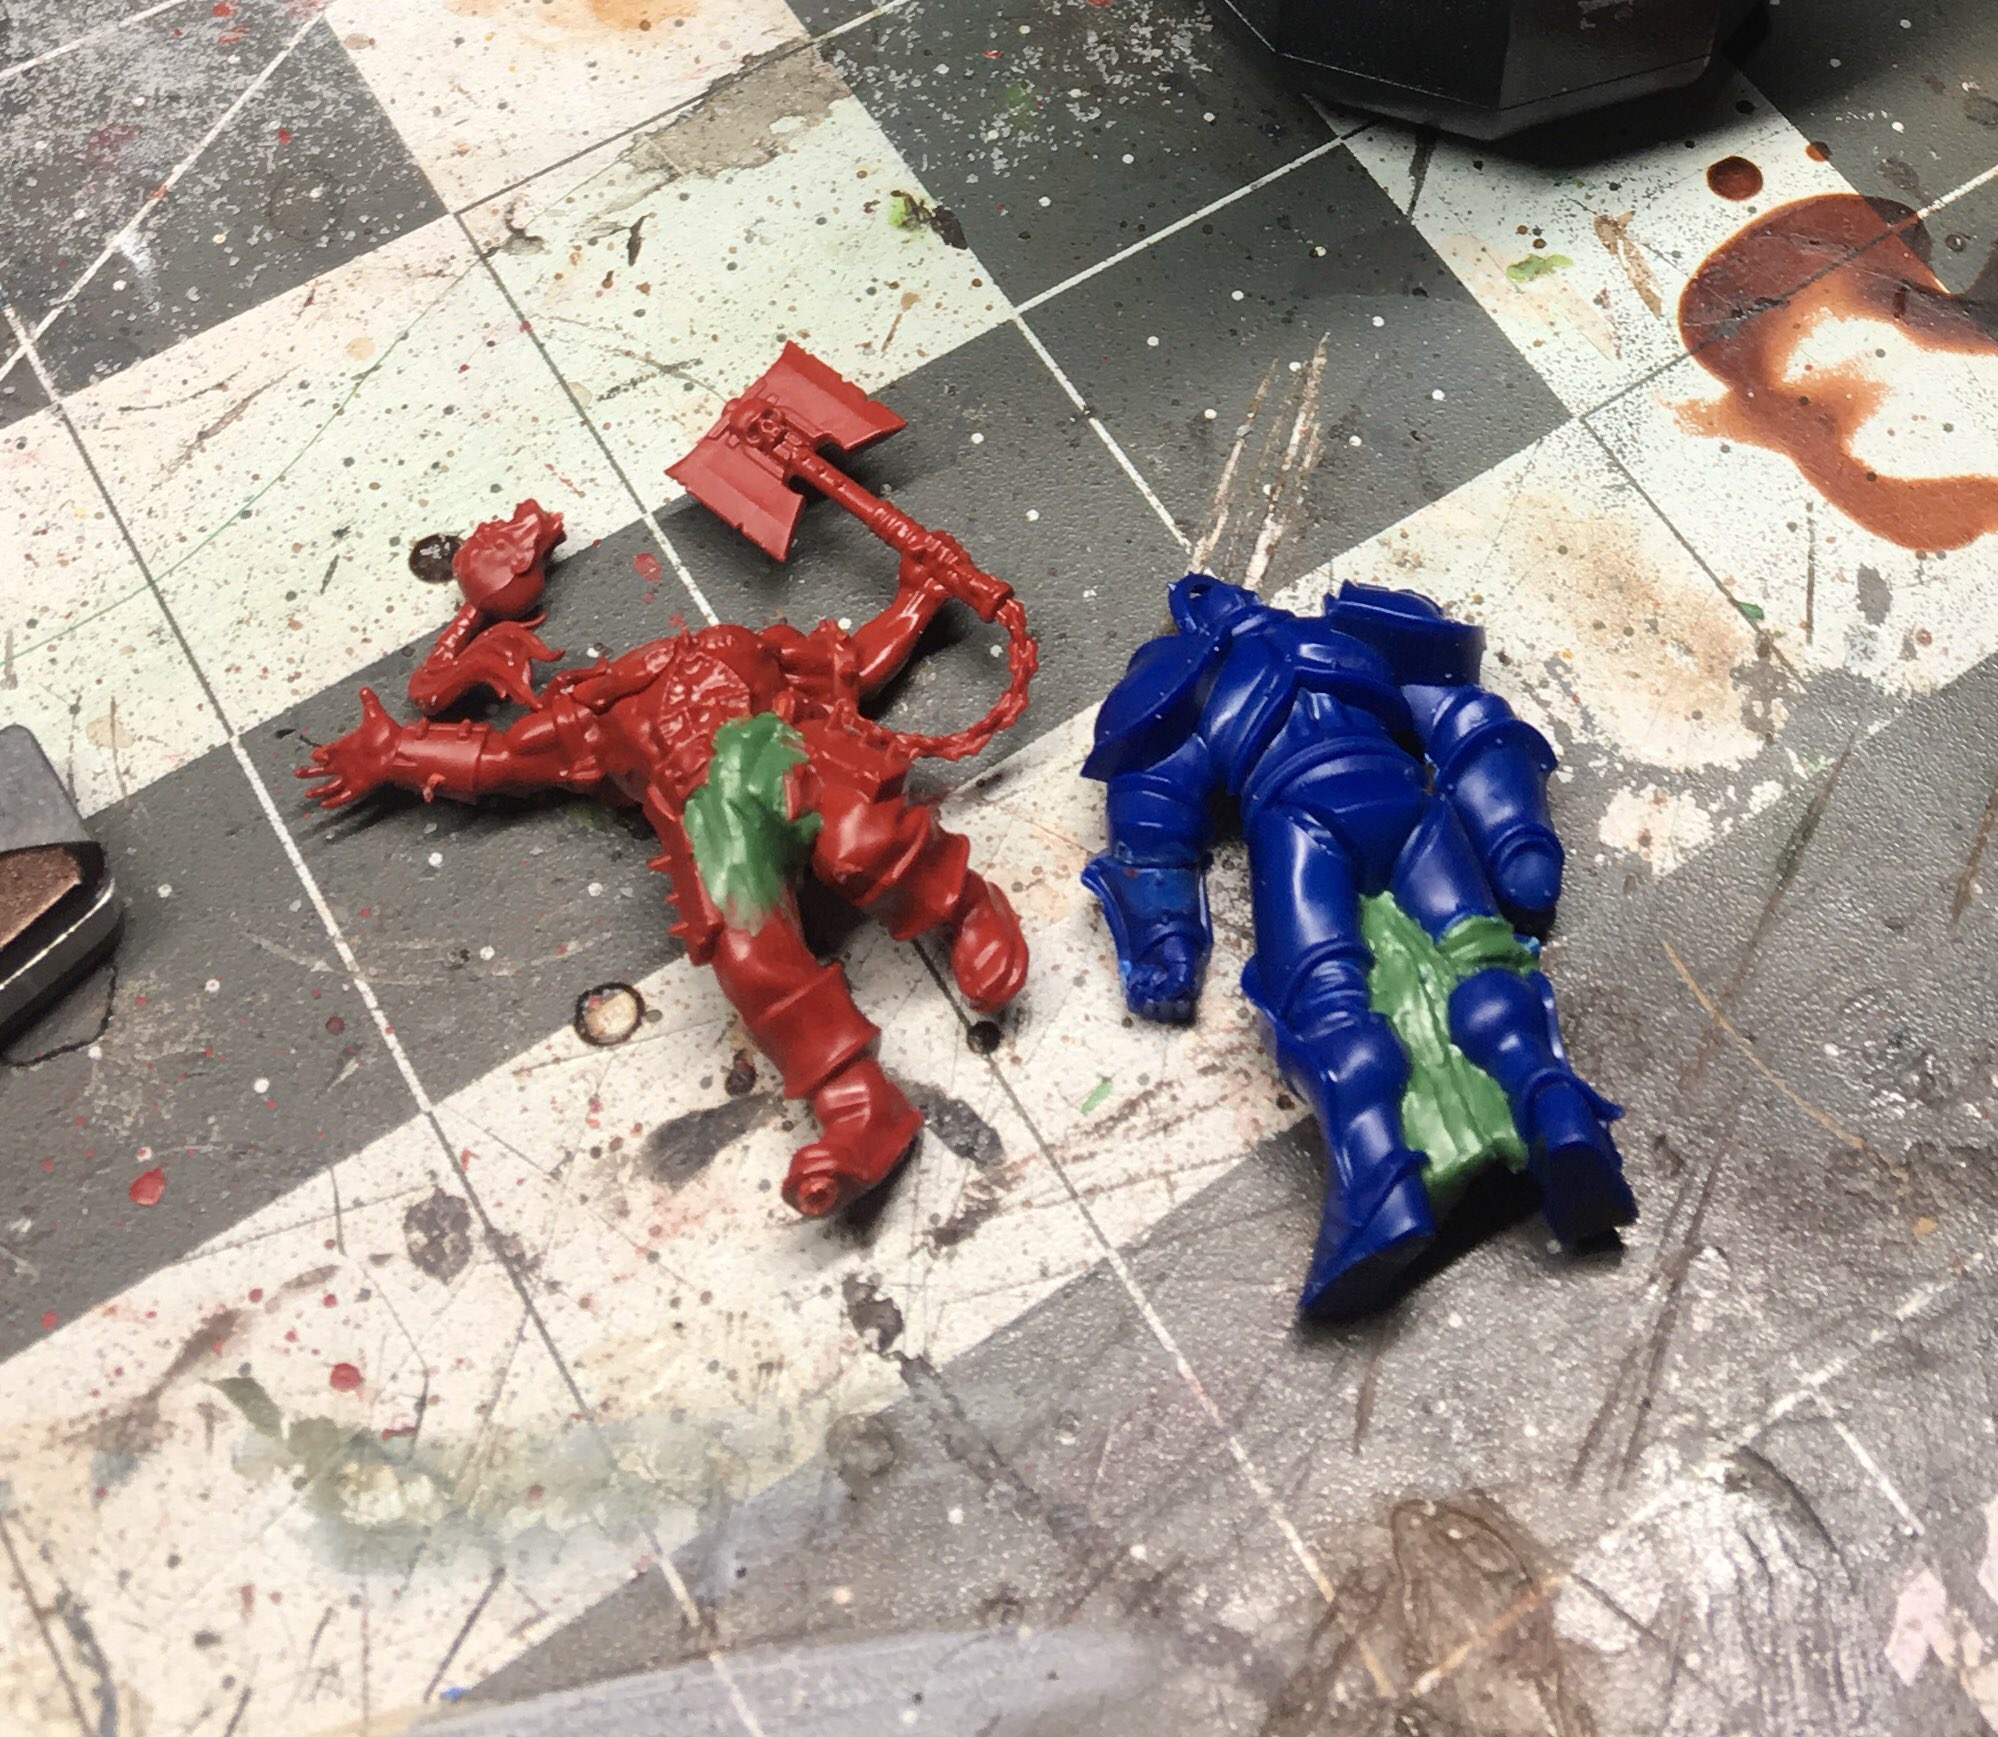
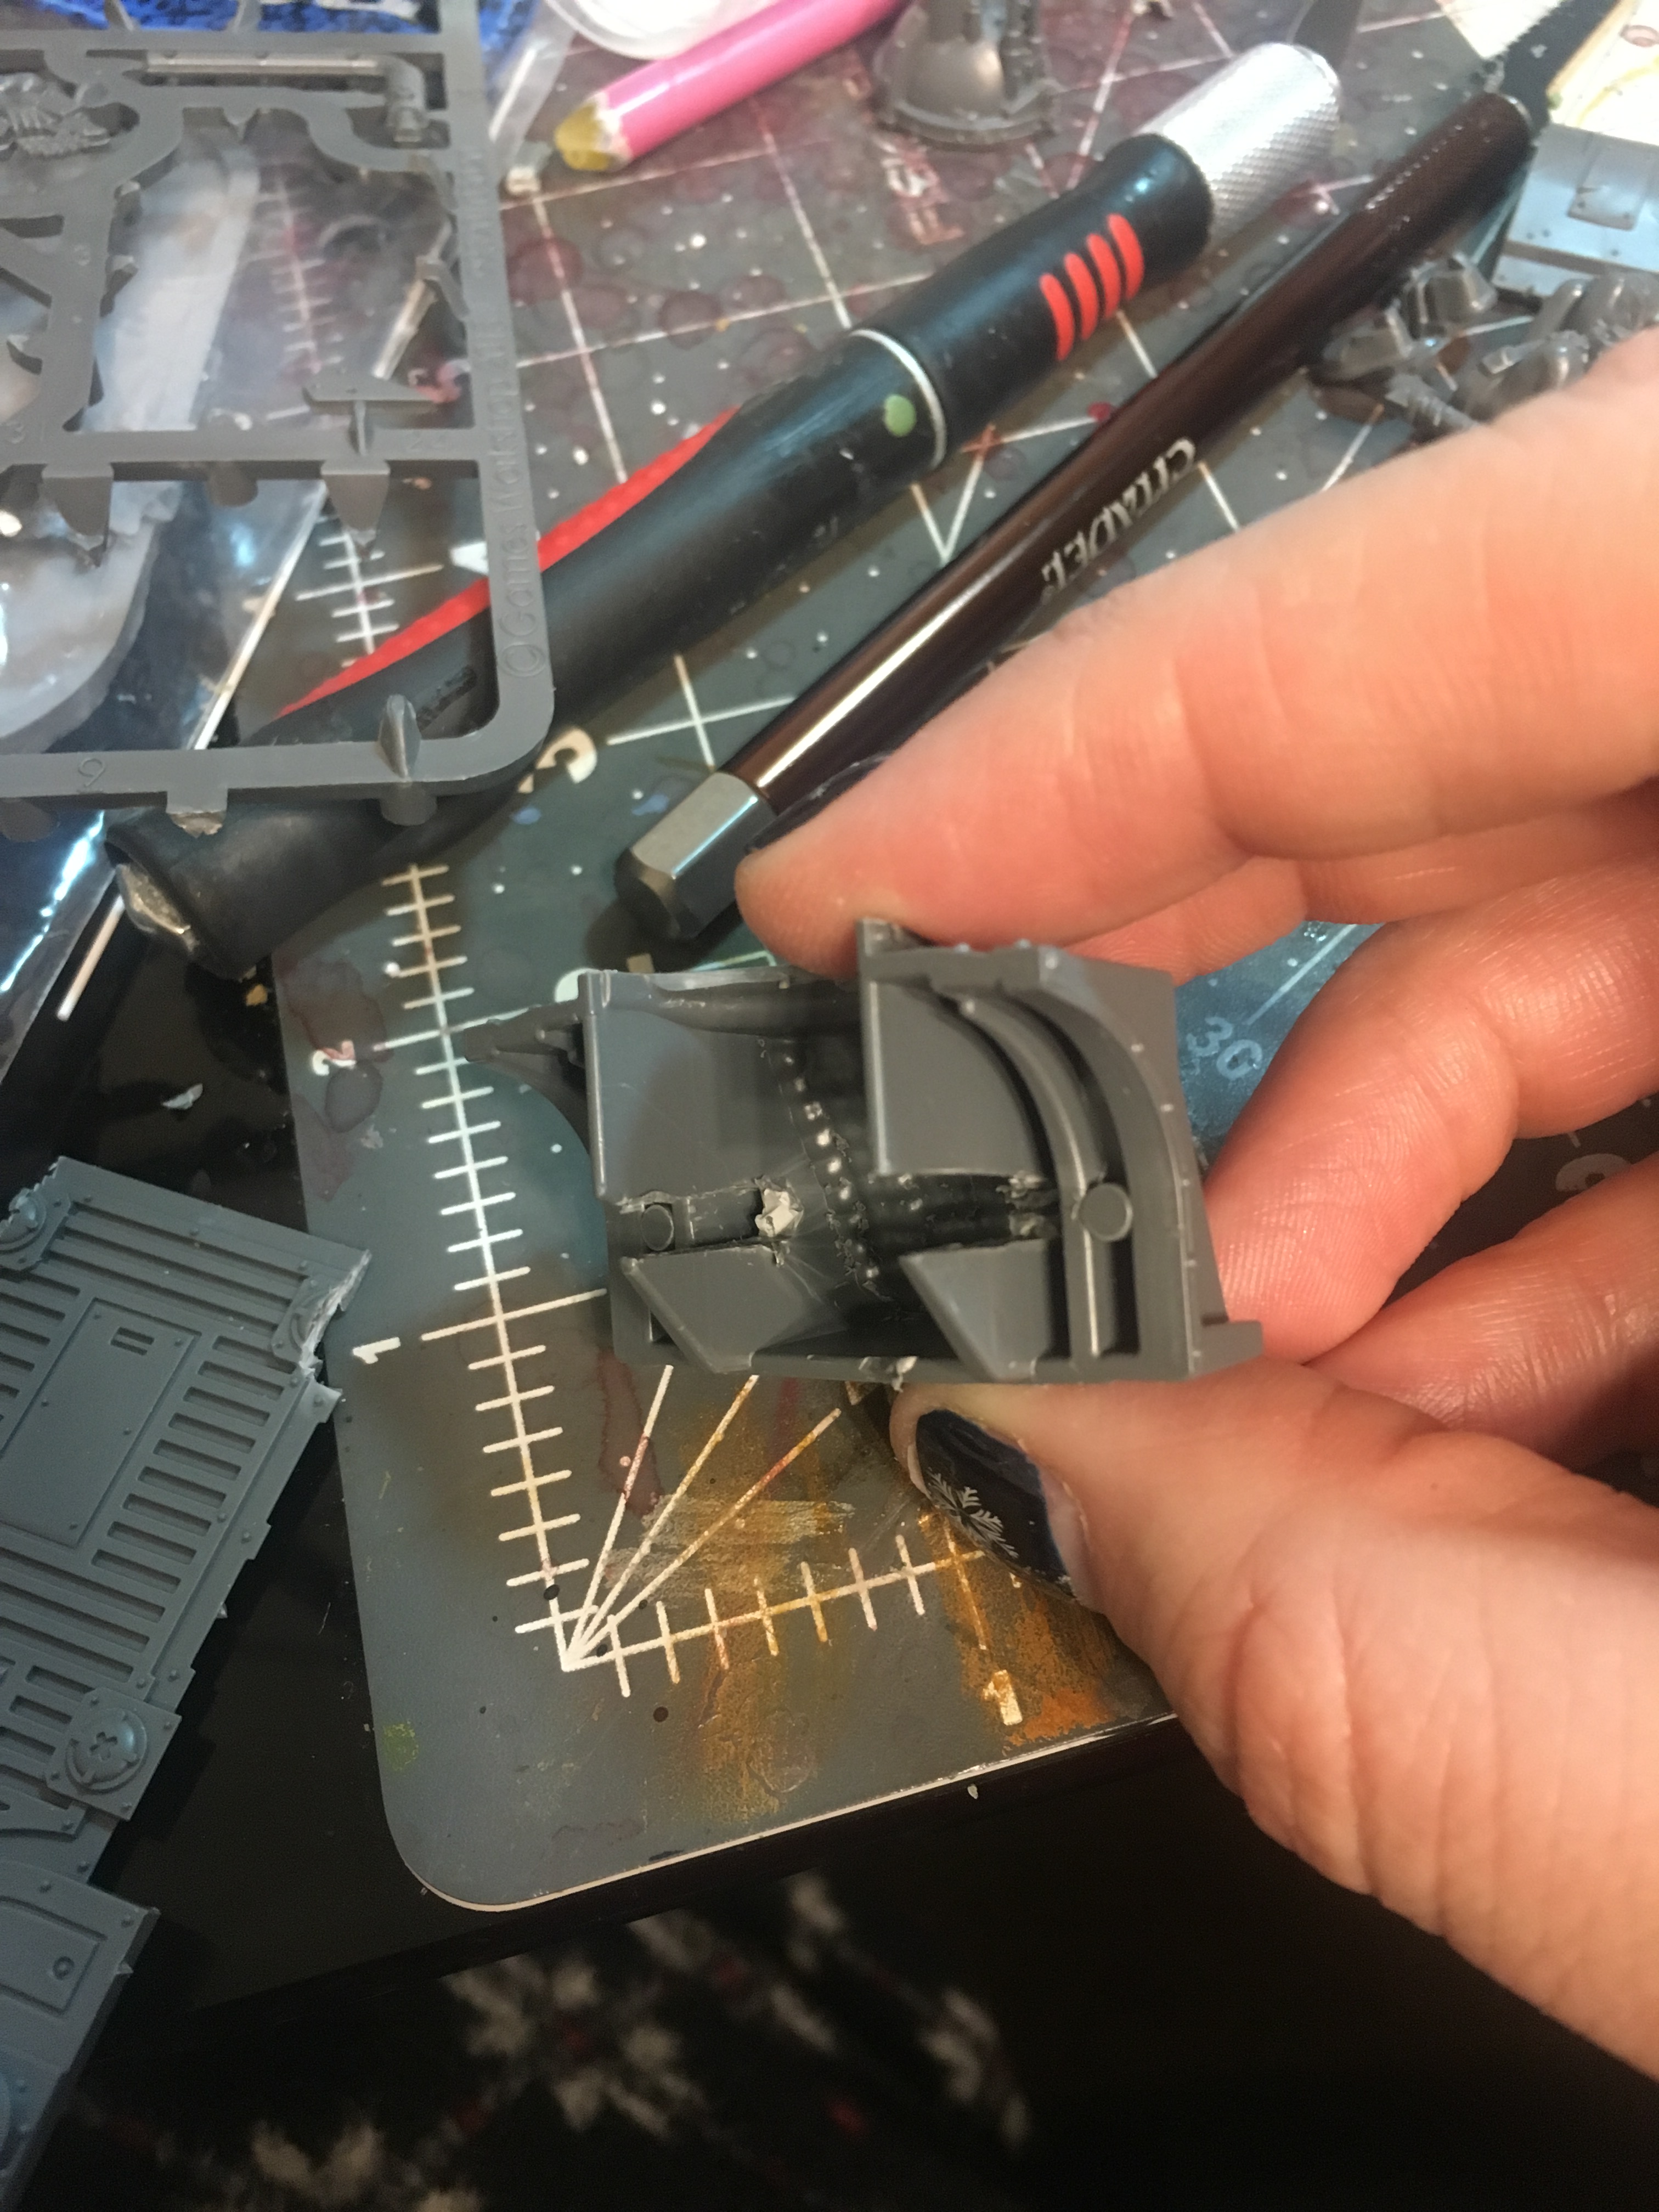
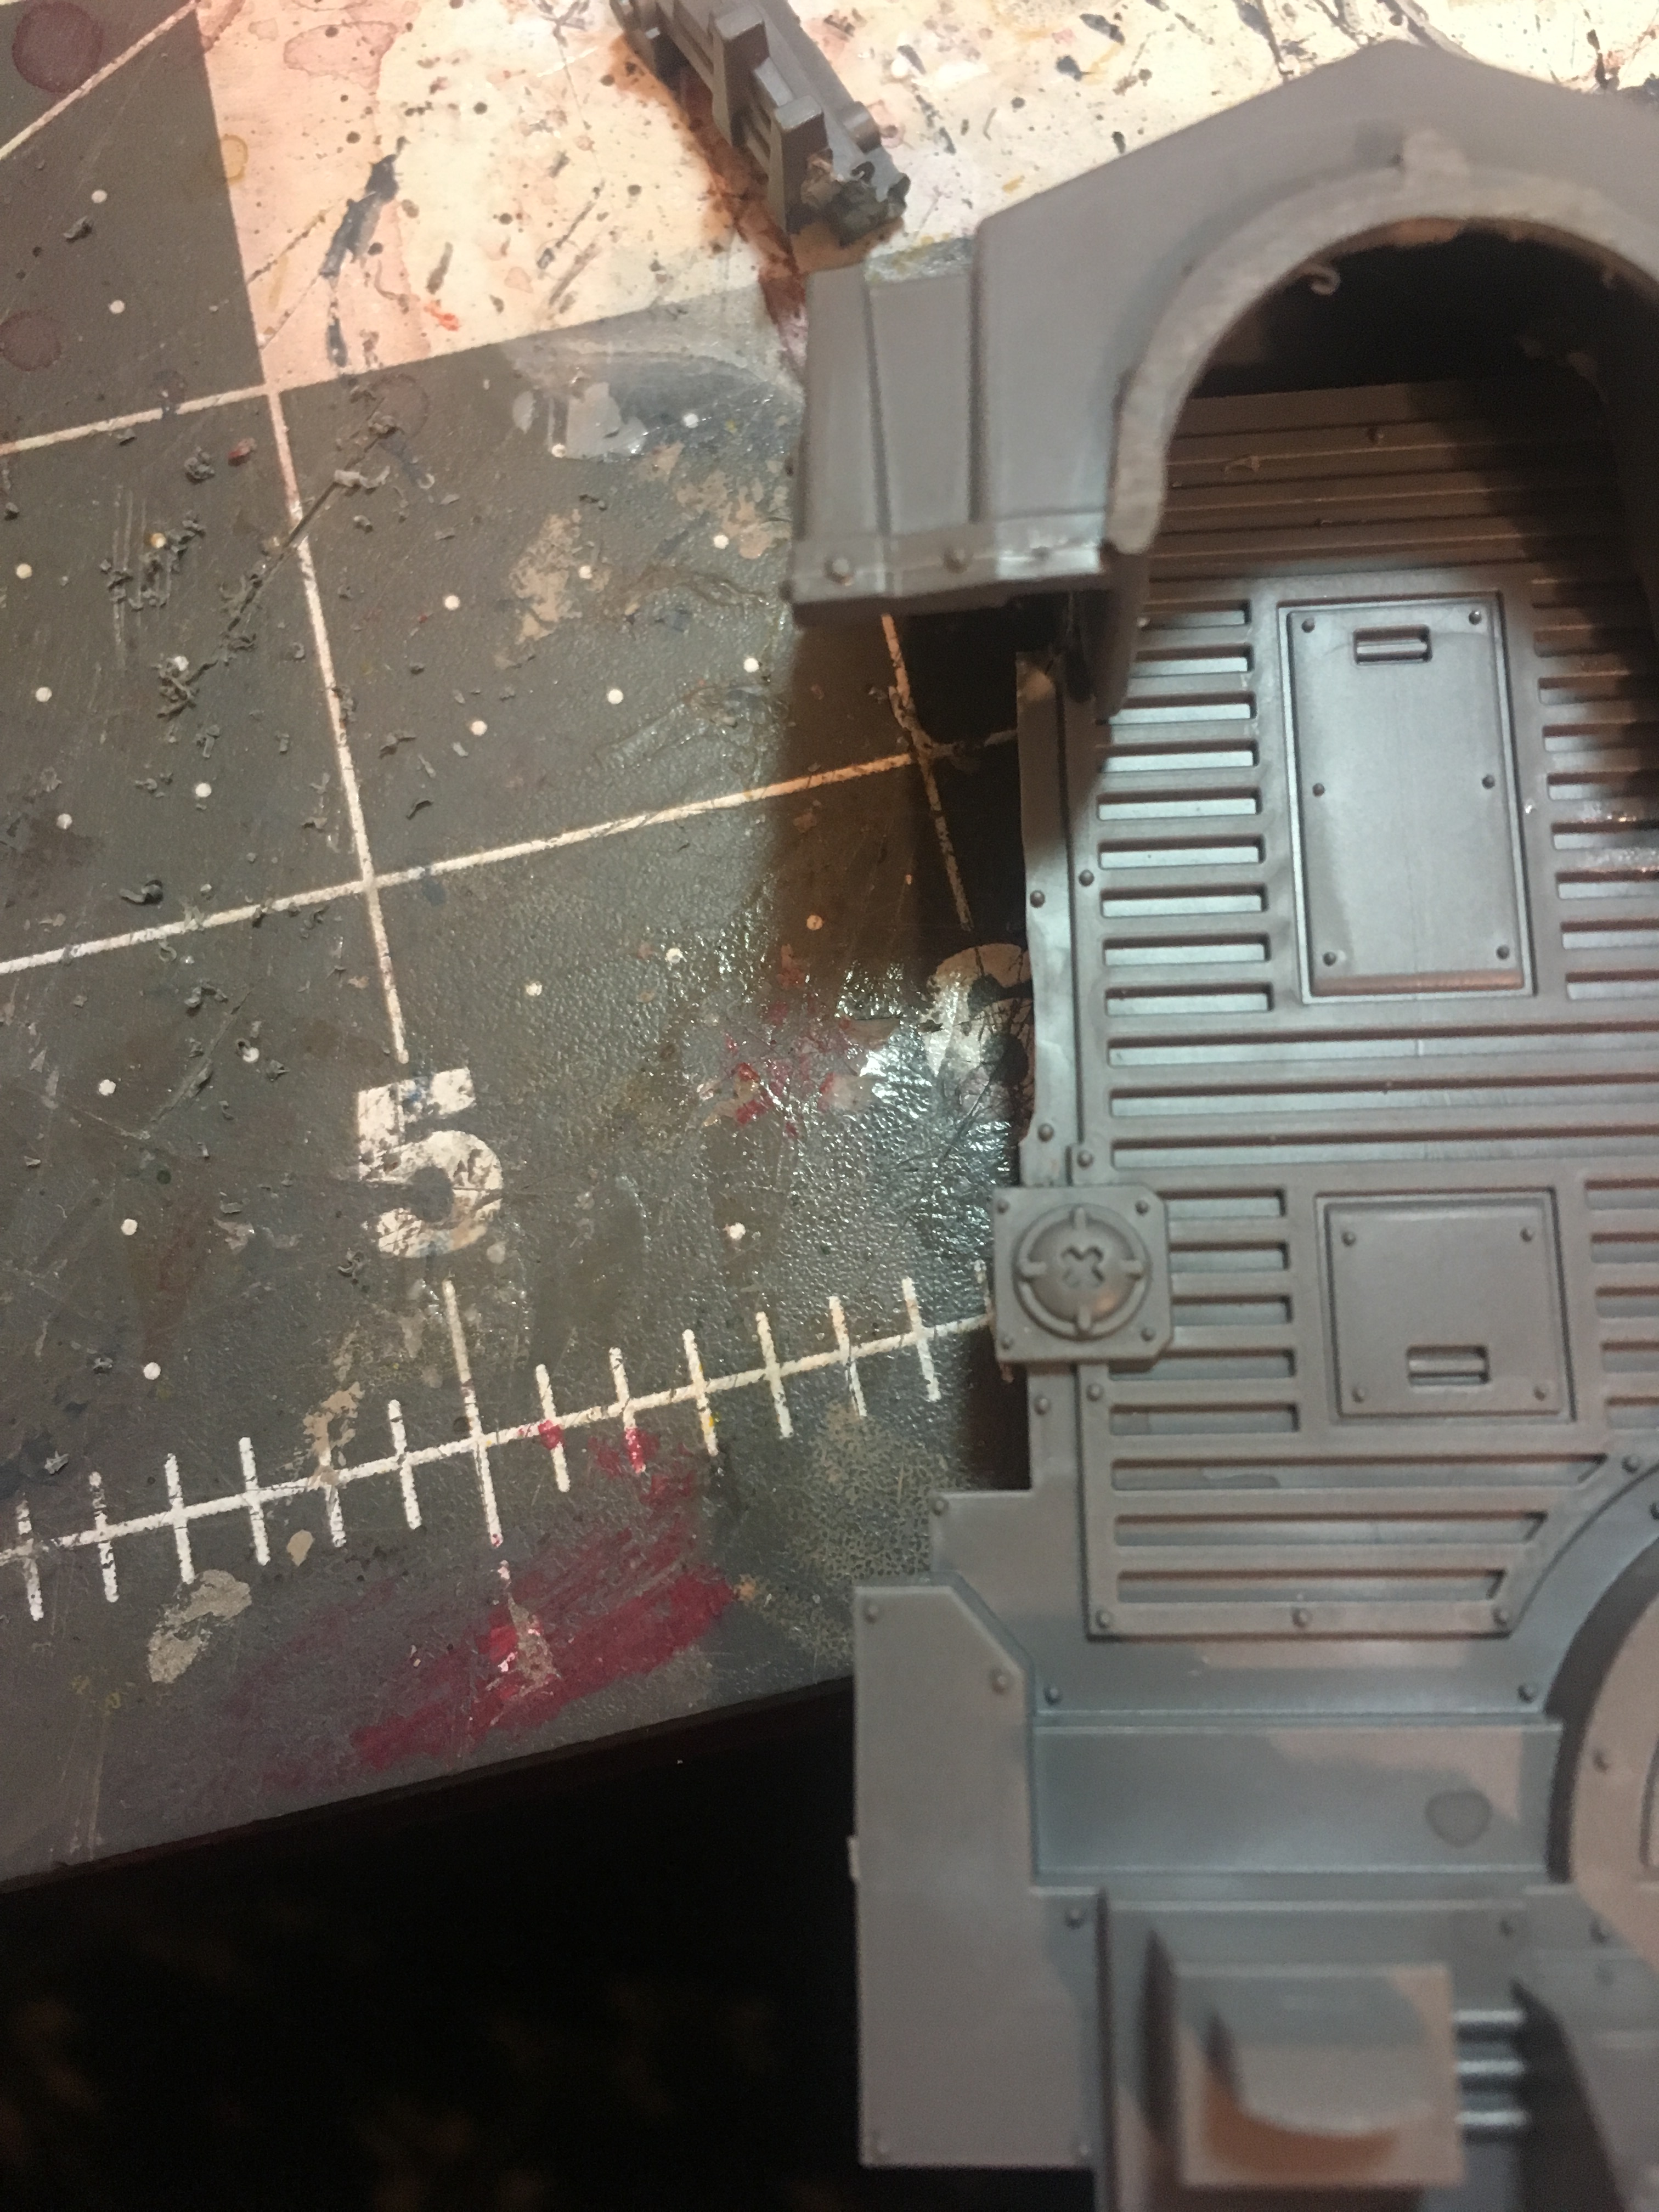
The core concept was fairly simplistic. I felt the Mangler Squigs looks like the perfect heads for the project and theorized they should connect *somewhat* nicely with the Stegadon kit from AoS Seraphons.


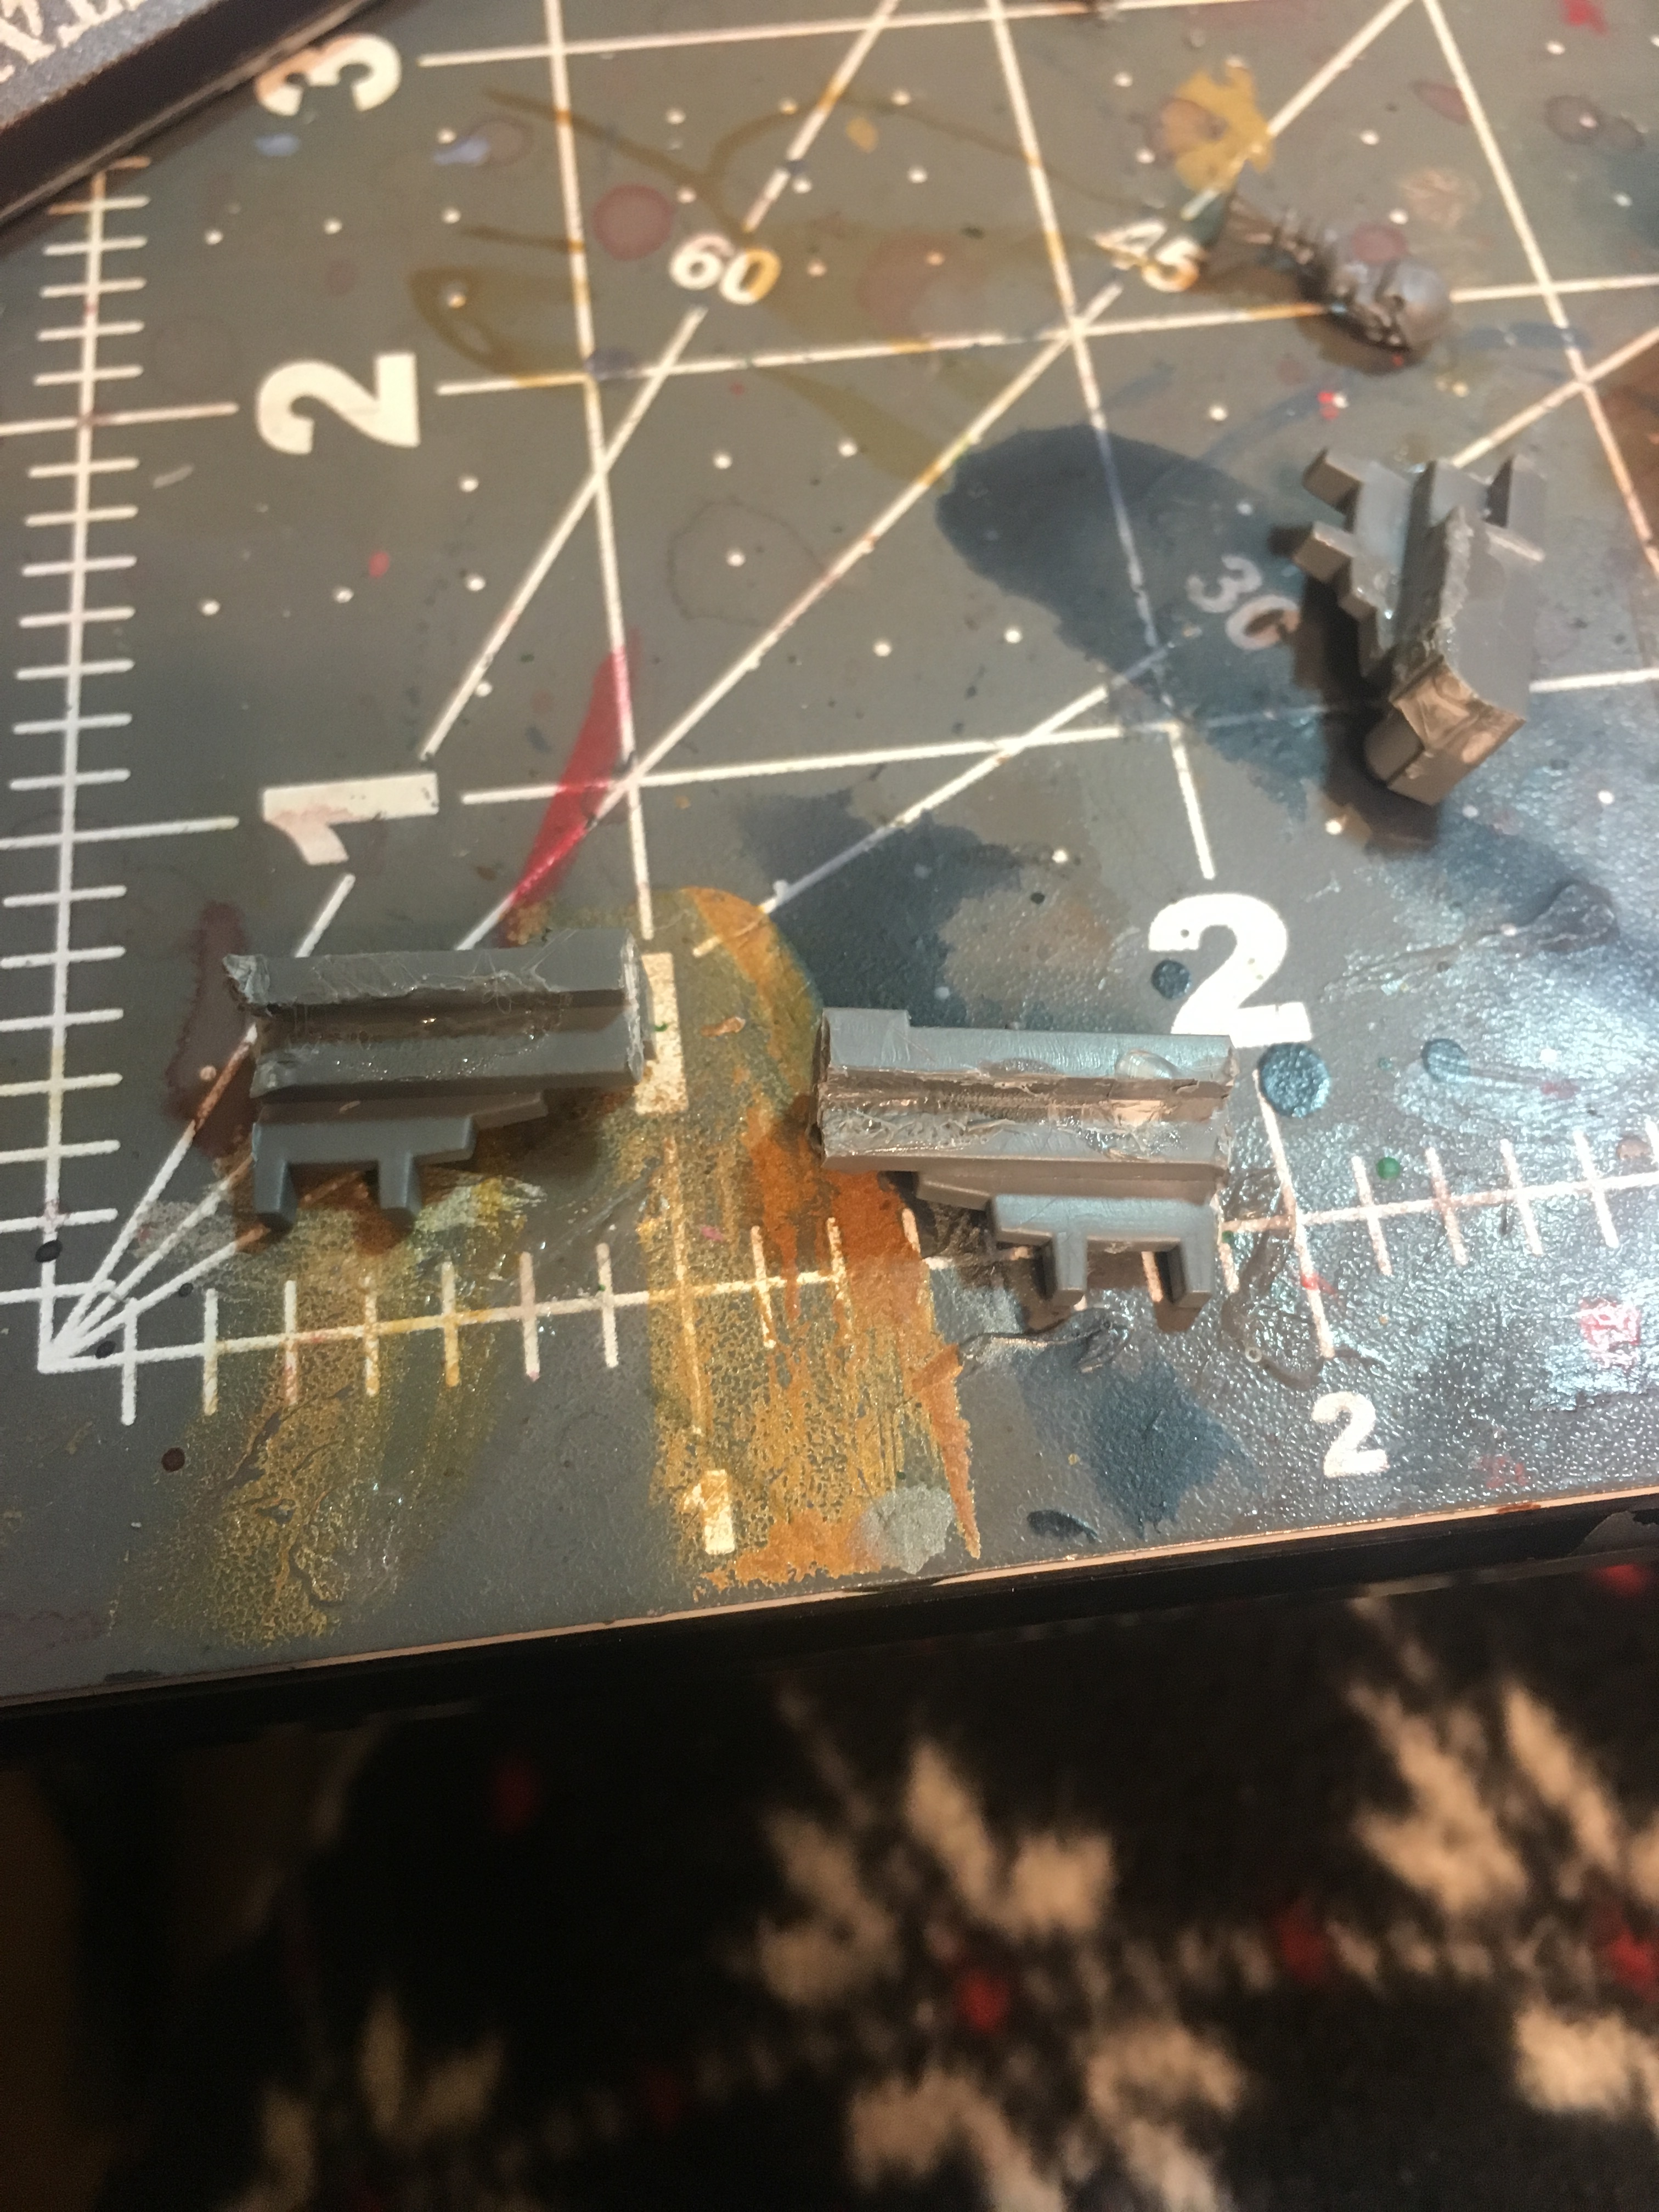
The Stegadon kit was built per standard instructions, leaving off the head and neck. I built the manglers standard as well, but took a saw to their tails; cutting them off at the collar around them. Each had spaces for their legs, which I assembled but trimmed to fill the gaps. This also built up the sides a bit and gave a nice area for tusks. Trimming the stegadon horns just slightly, I glued them in similar to pinchers found on centipedes.

The construction left a lot of areas for sculpting in order to make them look like a connected head. Laying a foundation, I packed in some greenstuff around the necks of both and smoothed them out. Once they cured, I could add some actual detail work.

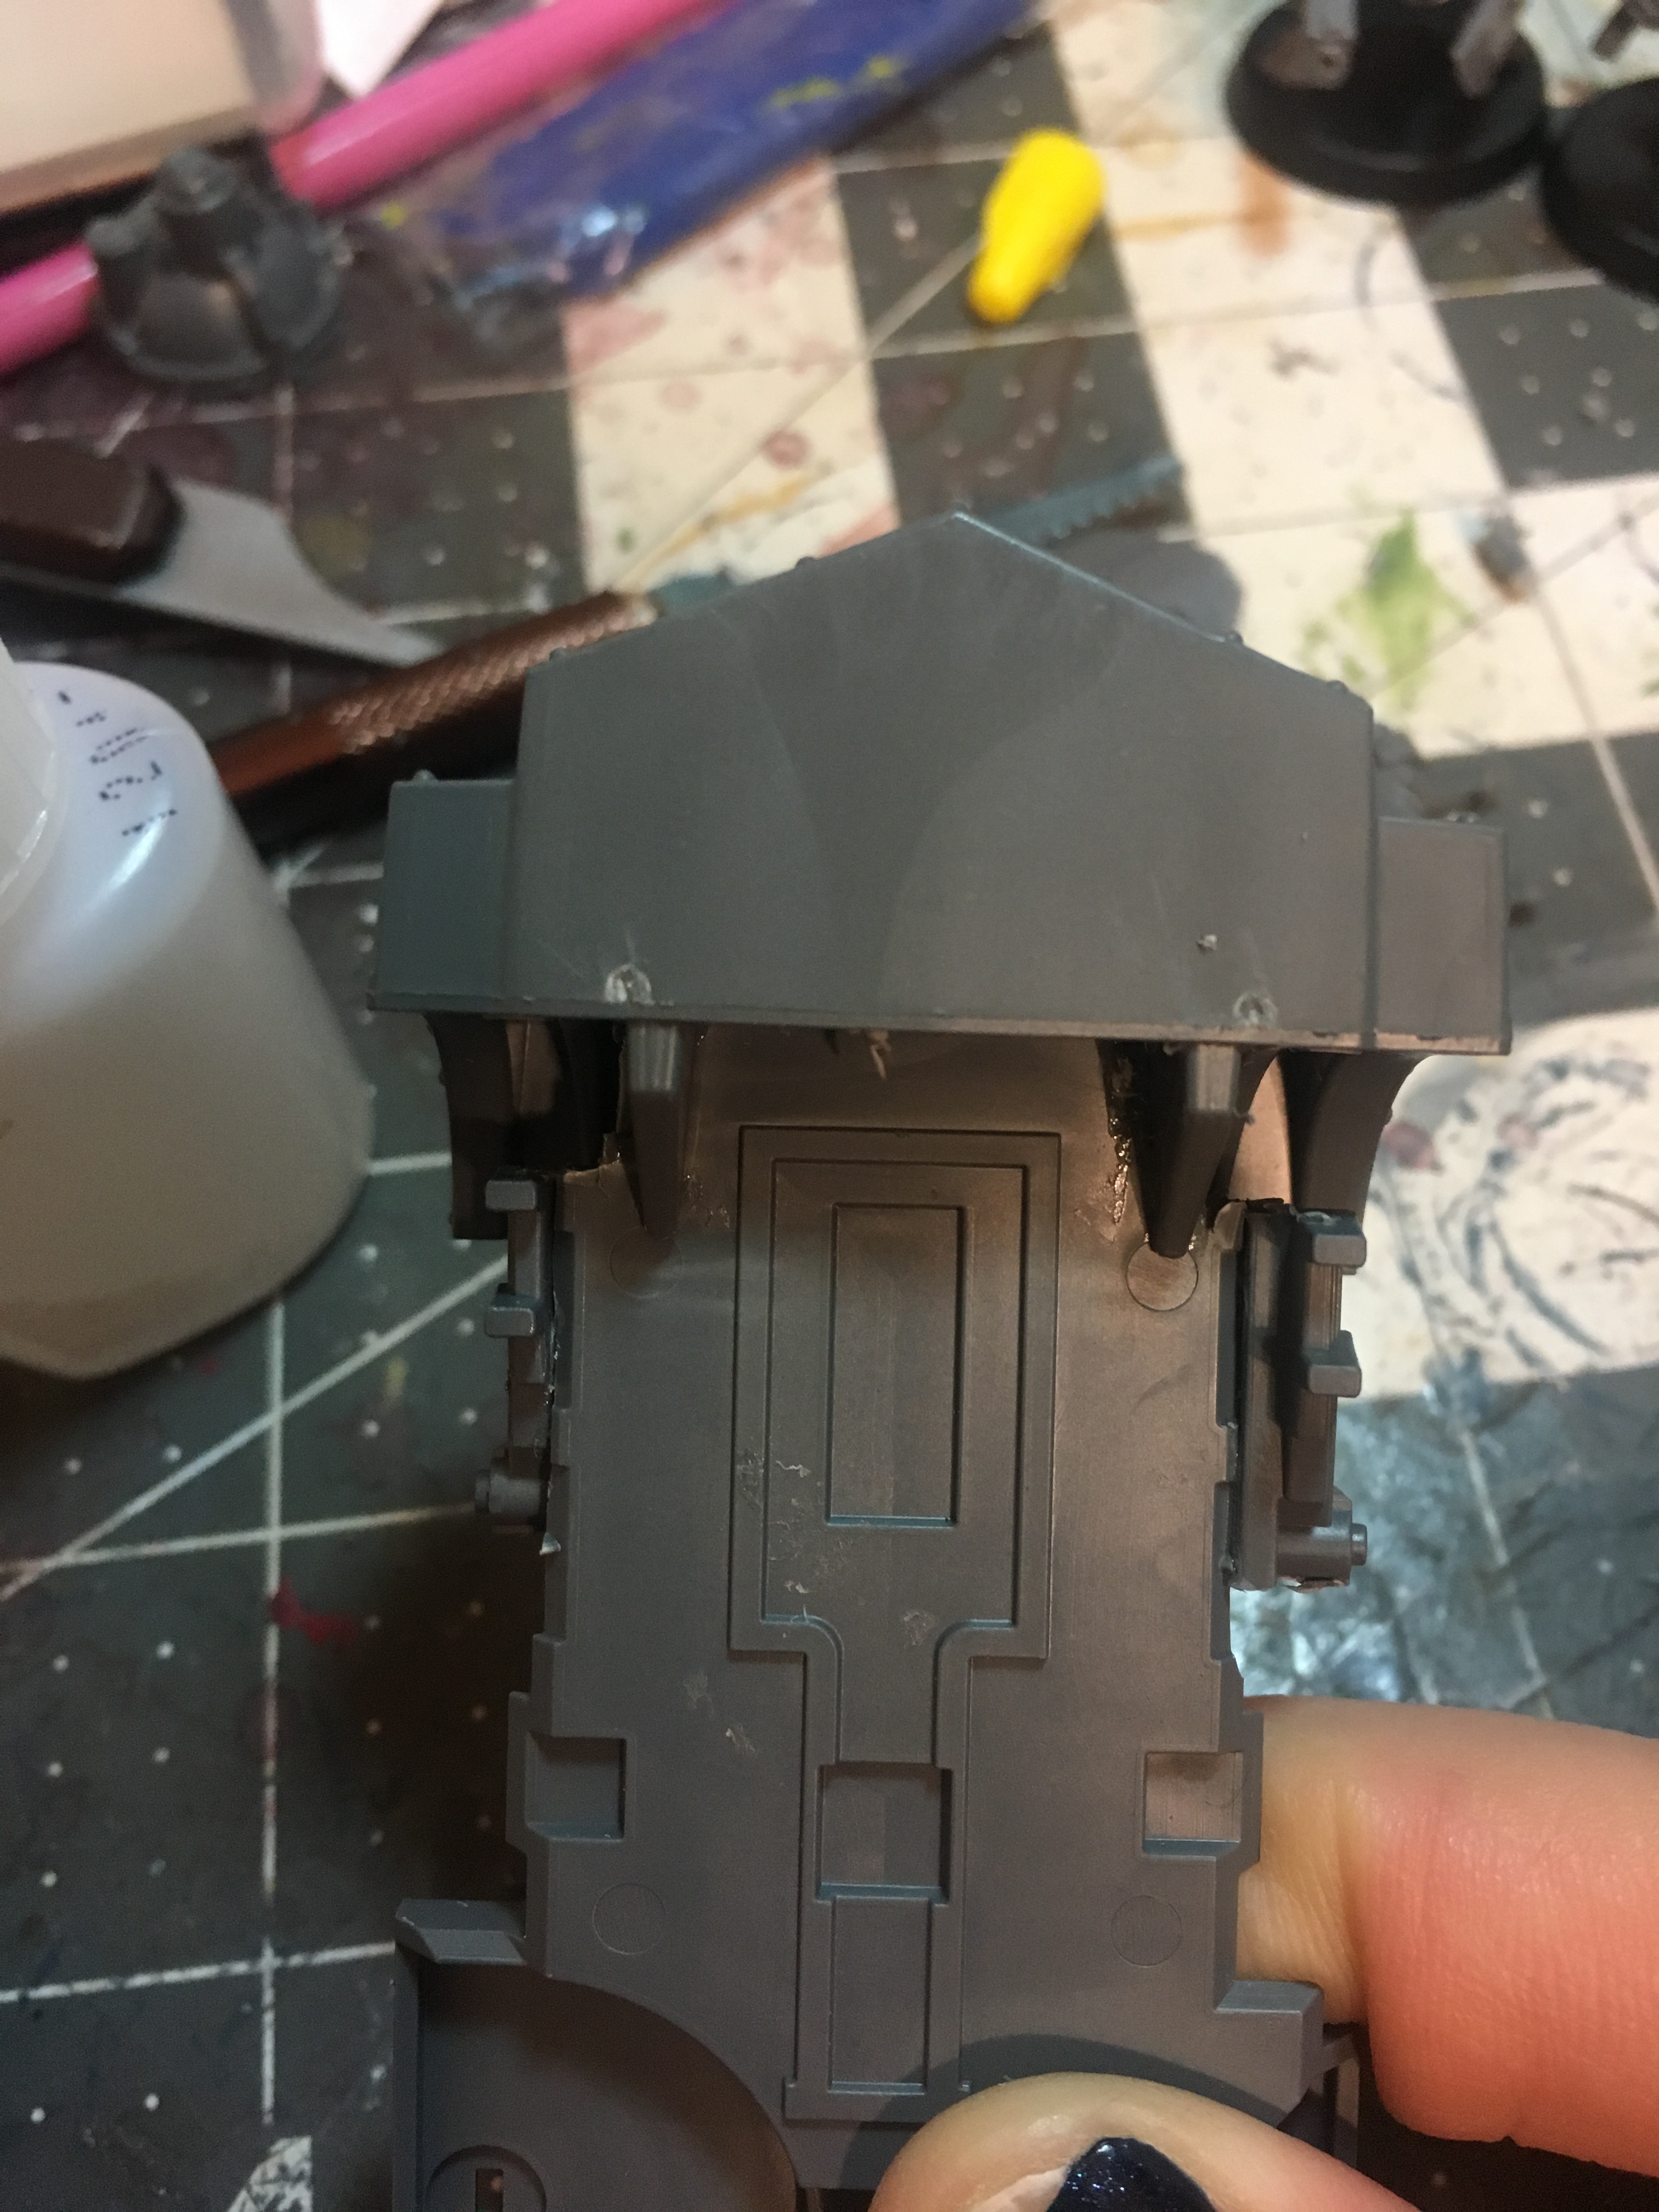
Large collars were spulpted onto both of them, obscuring the bulk of the filled in areas. While waiting to dry, I started working on the palanquin for the first. Most of this assembly was by the book for the stegadon kit. I used ork trukk bits to extend the platform further and to add a bit on the end. We very little done, it was already shaping up nicely and felt very promising for the project, overall.
Next time, we will continue looking at the progression of these squiggoth. There is a lot of work left for both and I cannot wait to show you everything I have in store.
Thank you all for reading and I will see you next time,
❤ Soph (HobbyistGirl)


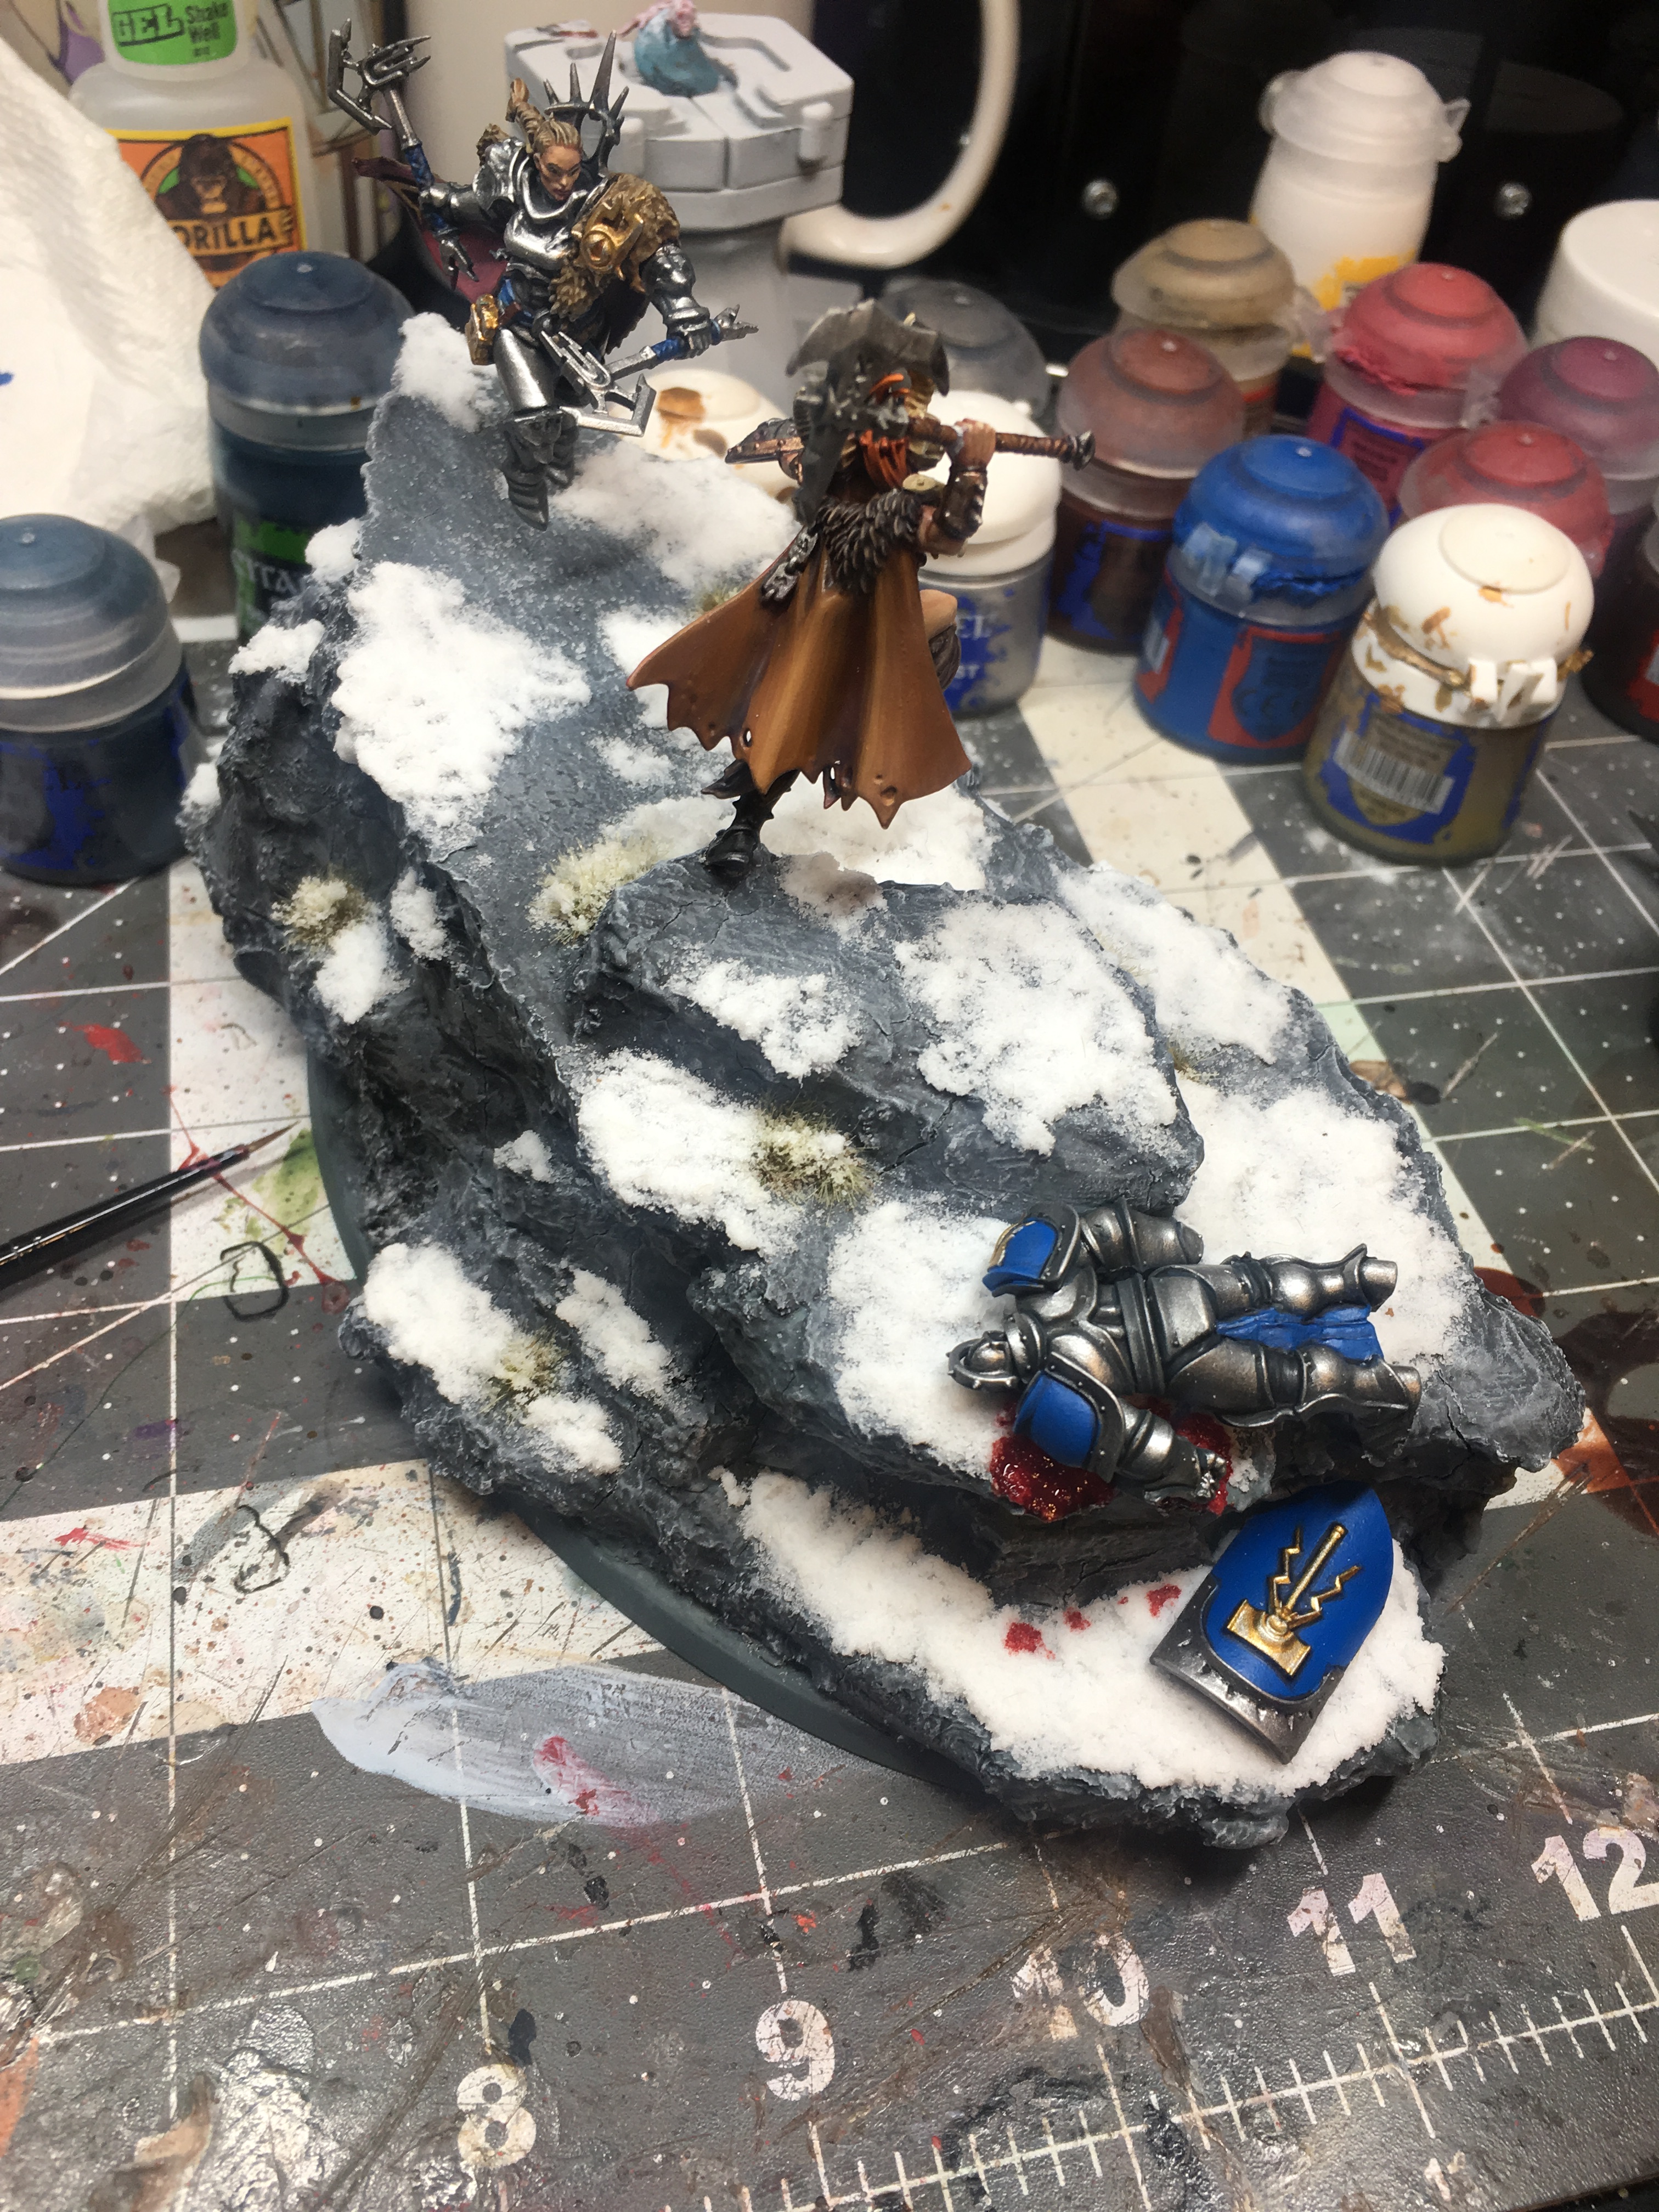
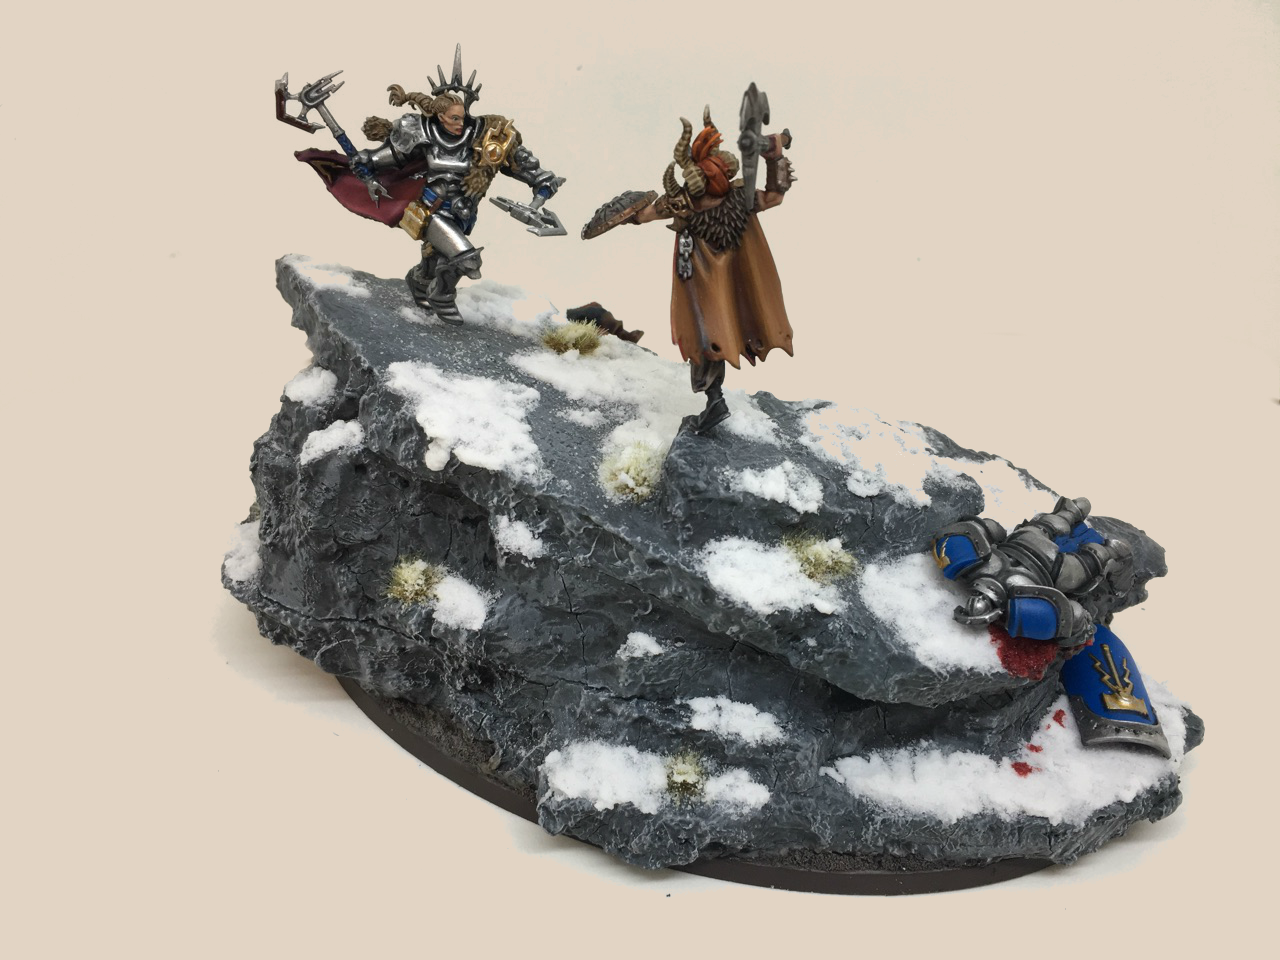
 I used a true metallic metal technique on Neave to acheive her armor. She started with a base coat of 50/50 Abyssal blue from scale 75 and Leadbelcher. The blue grey from the Abyssal would prove a nice tie in to the other blue pieces on her as I moved forward. Next I did a 3:1 Leadbelcher to Abyssal, then straight ledbelcher. The whole time, as I am gradually highlighting, I am keeping in mind where the light hits her to create a natural looking shine. Next was a 50/50 ironbreaker/leadbelcher and then straight ironbreaker. This was the start of the super shined areas. Lastly, used Stormhost Silver on the brightest areas of her armor. The last step was an edge shading of my base coat in the recesses.


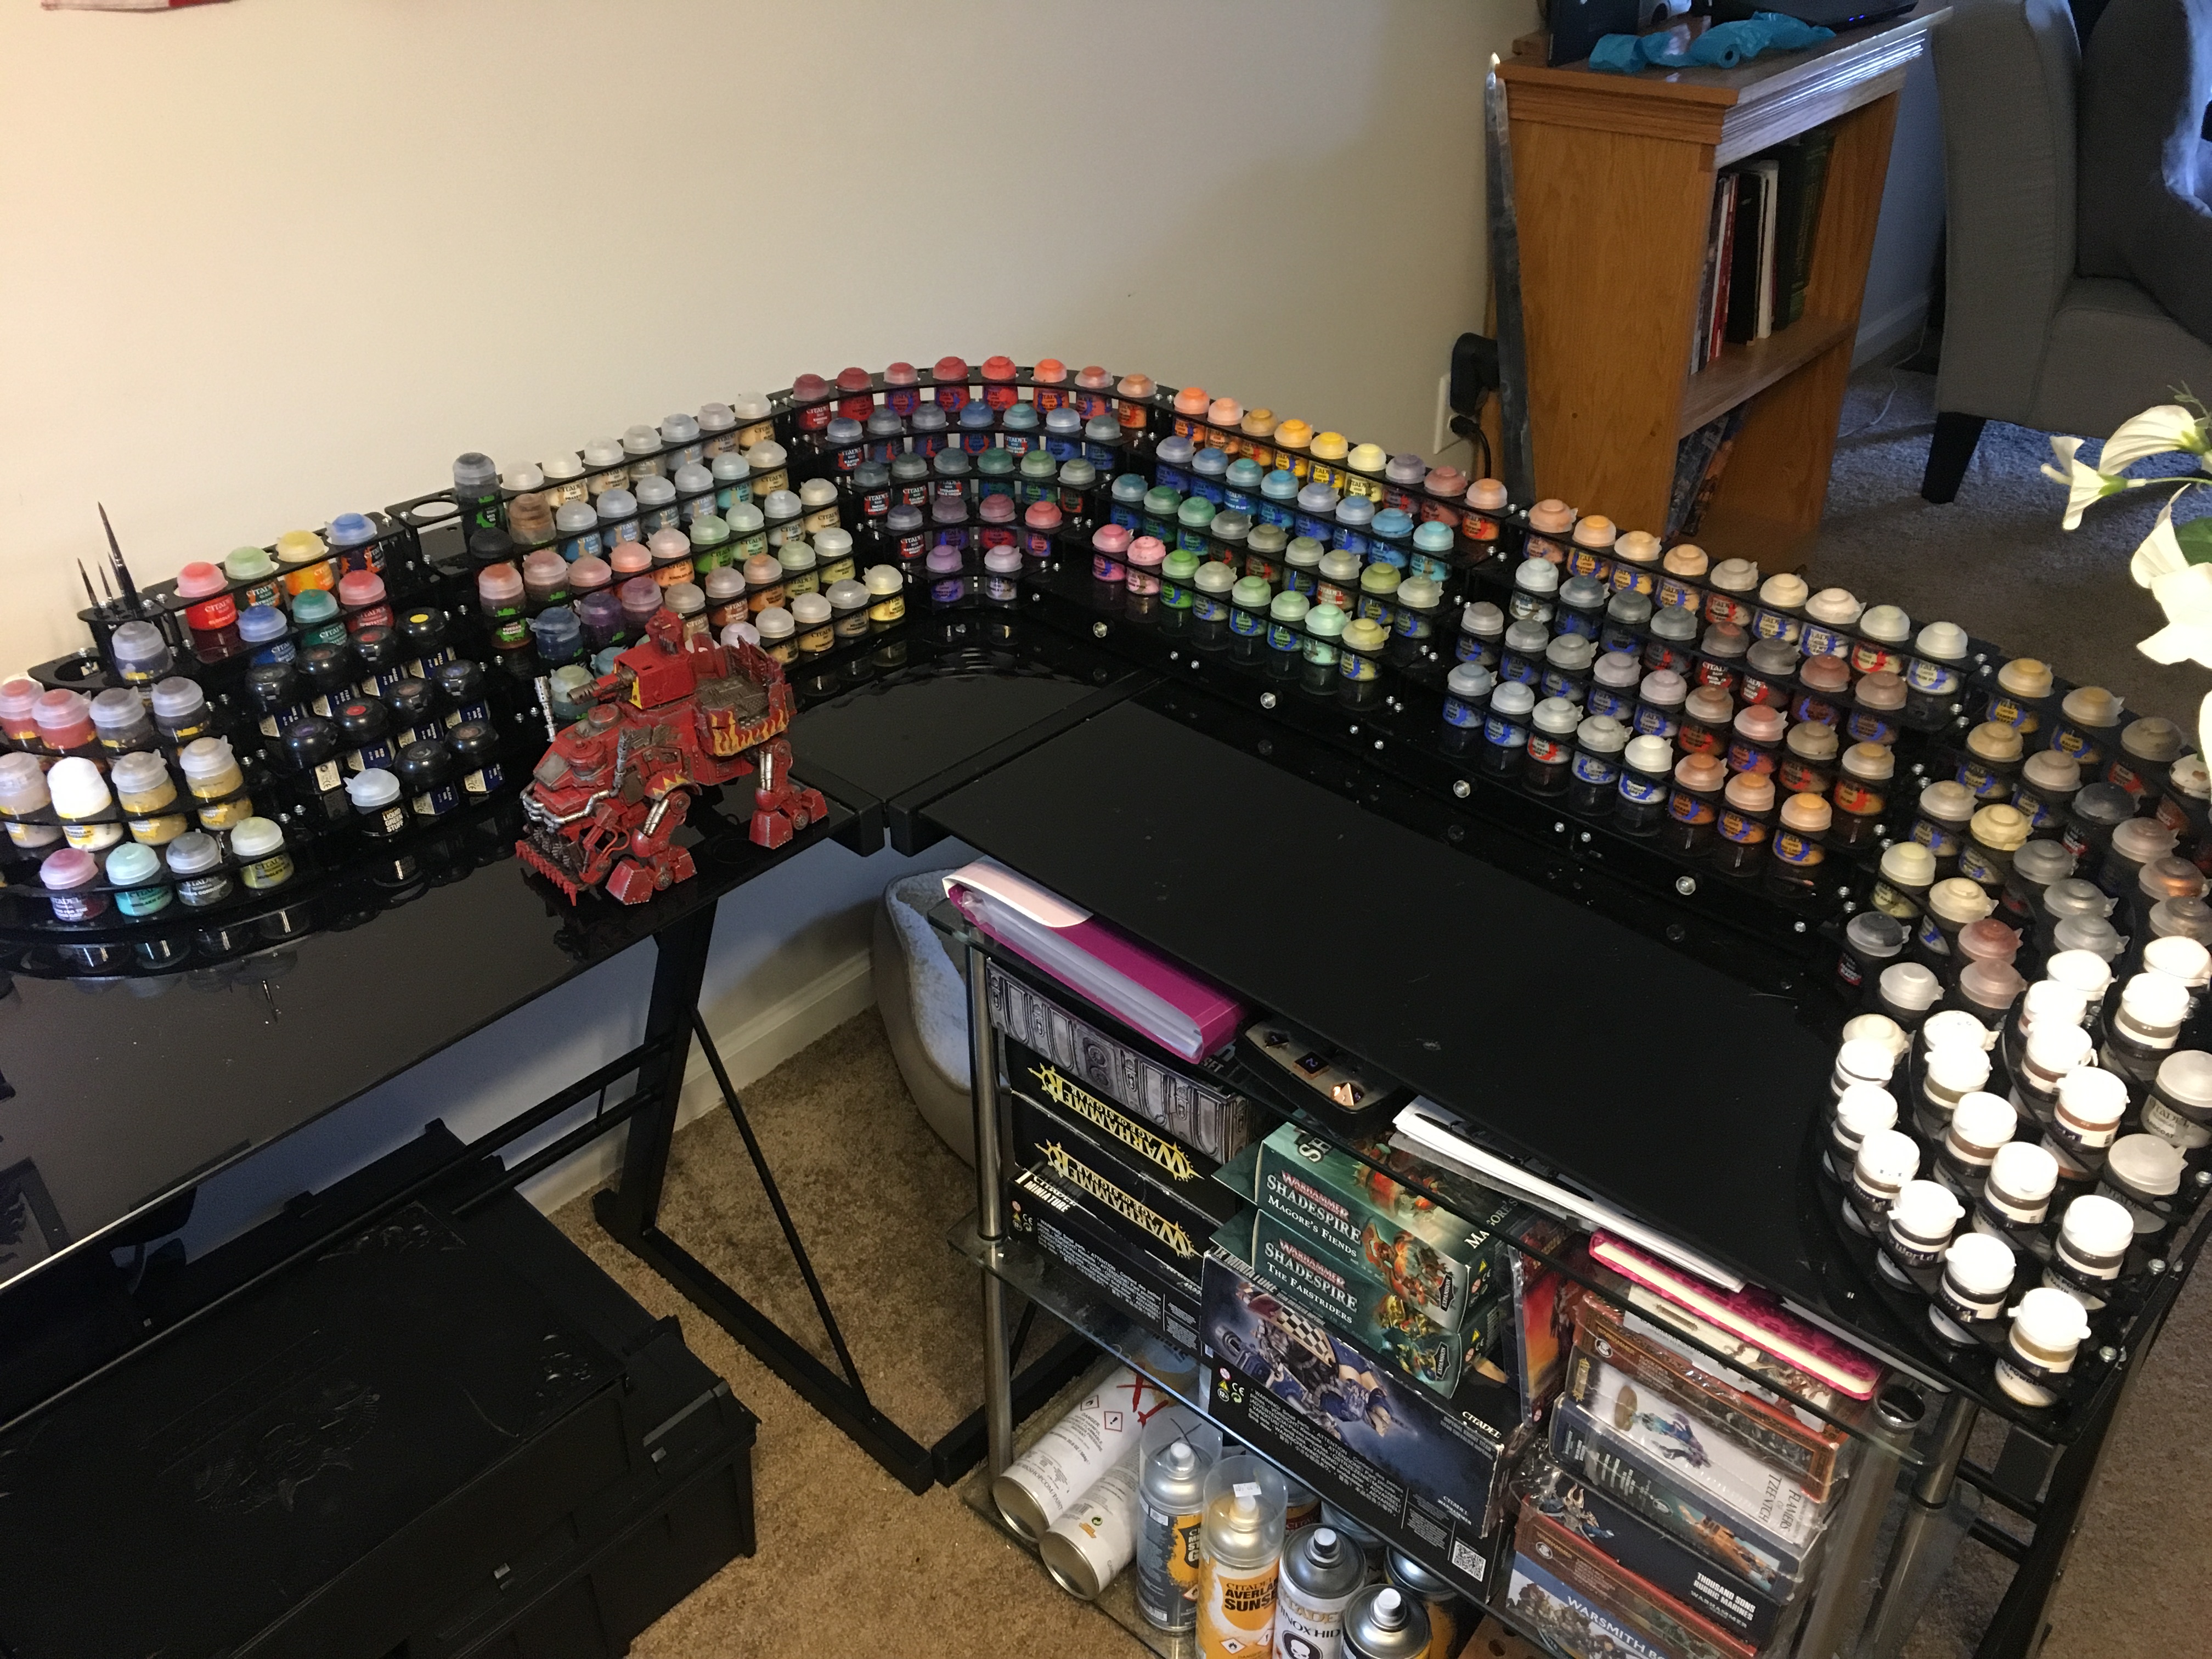
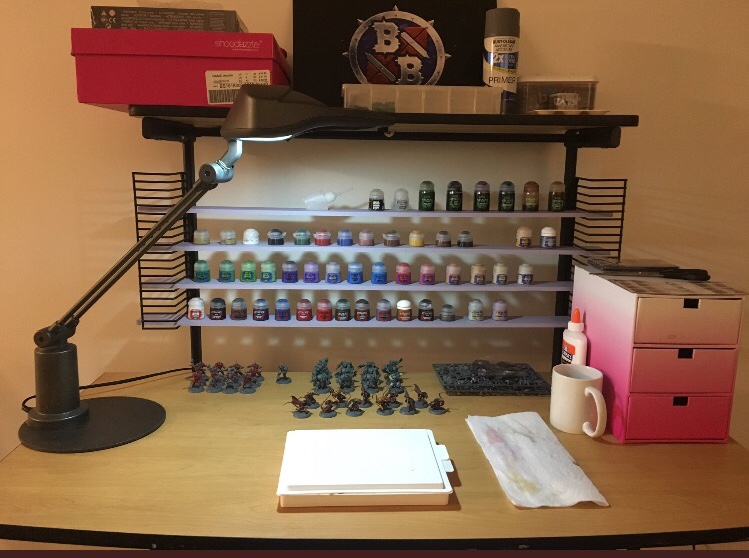 The resurgence started here. It wasn’t much, but it was a solid set place to store everything I had; which was not much either. I had an old computer stand that was still in very good shape to act as the table. I went to Lowes and bought precut pieces of thin wood and sprayed them purple, using them as shelves for what little paint I had. My hobby tools went in a cardboard storage box I found at Michaels and any bits were tossed into a pink shoebox. My remnant of the past was an OTT Lite I had gotten for Christmas years ago and had been in storage since my hobby days were over. I brought it up from the basement and brought it out of retirement to wrap this modest setup together.
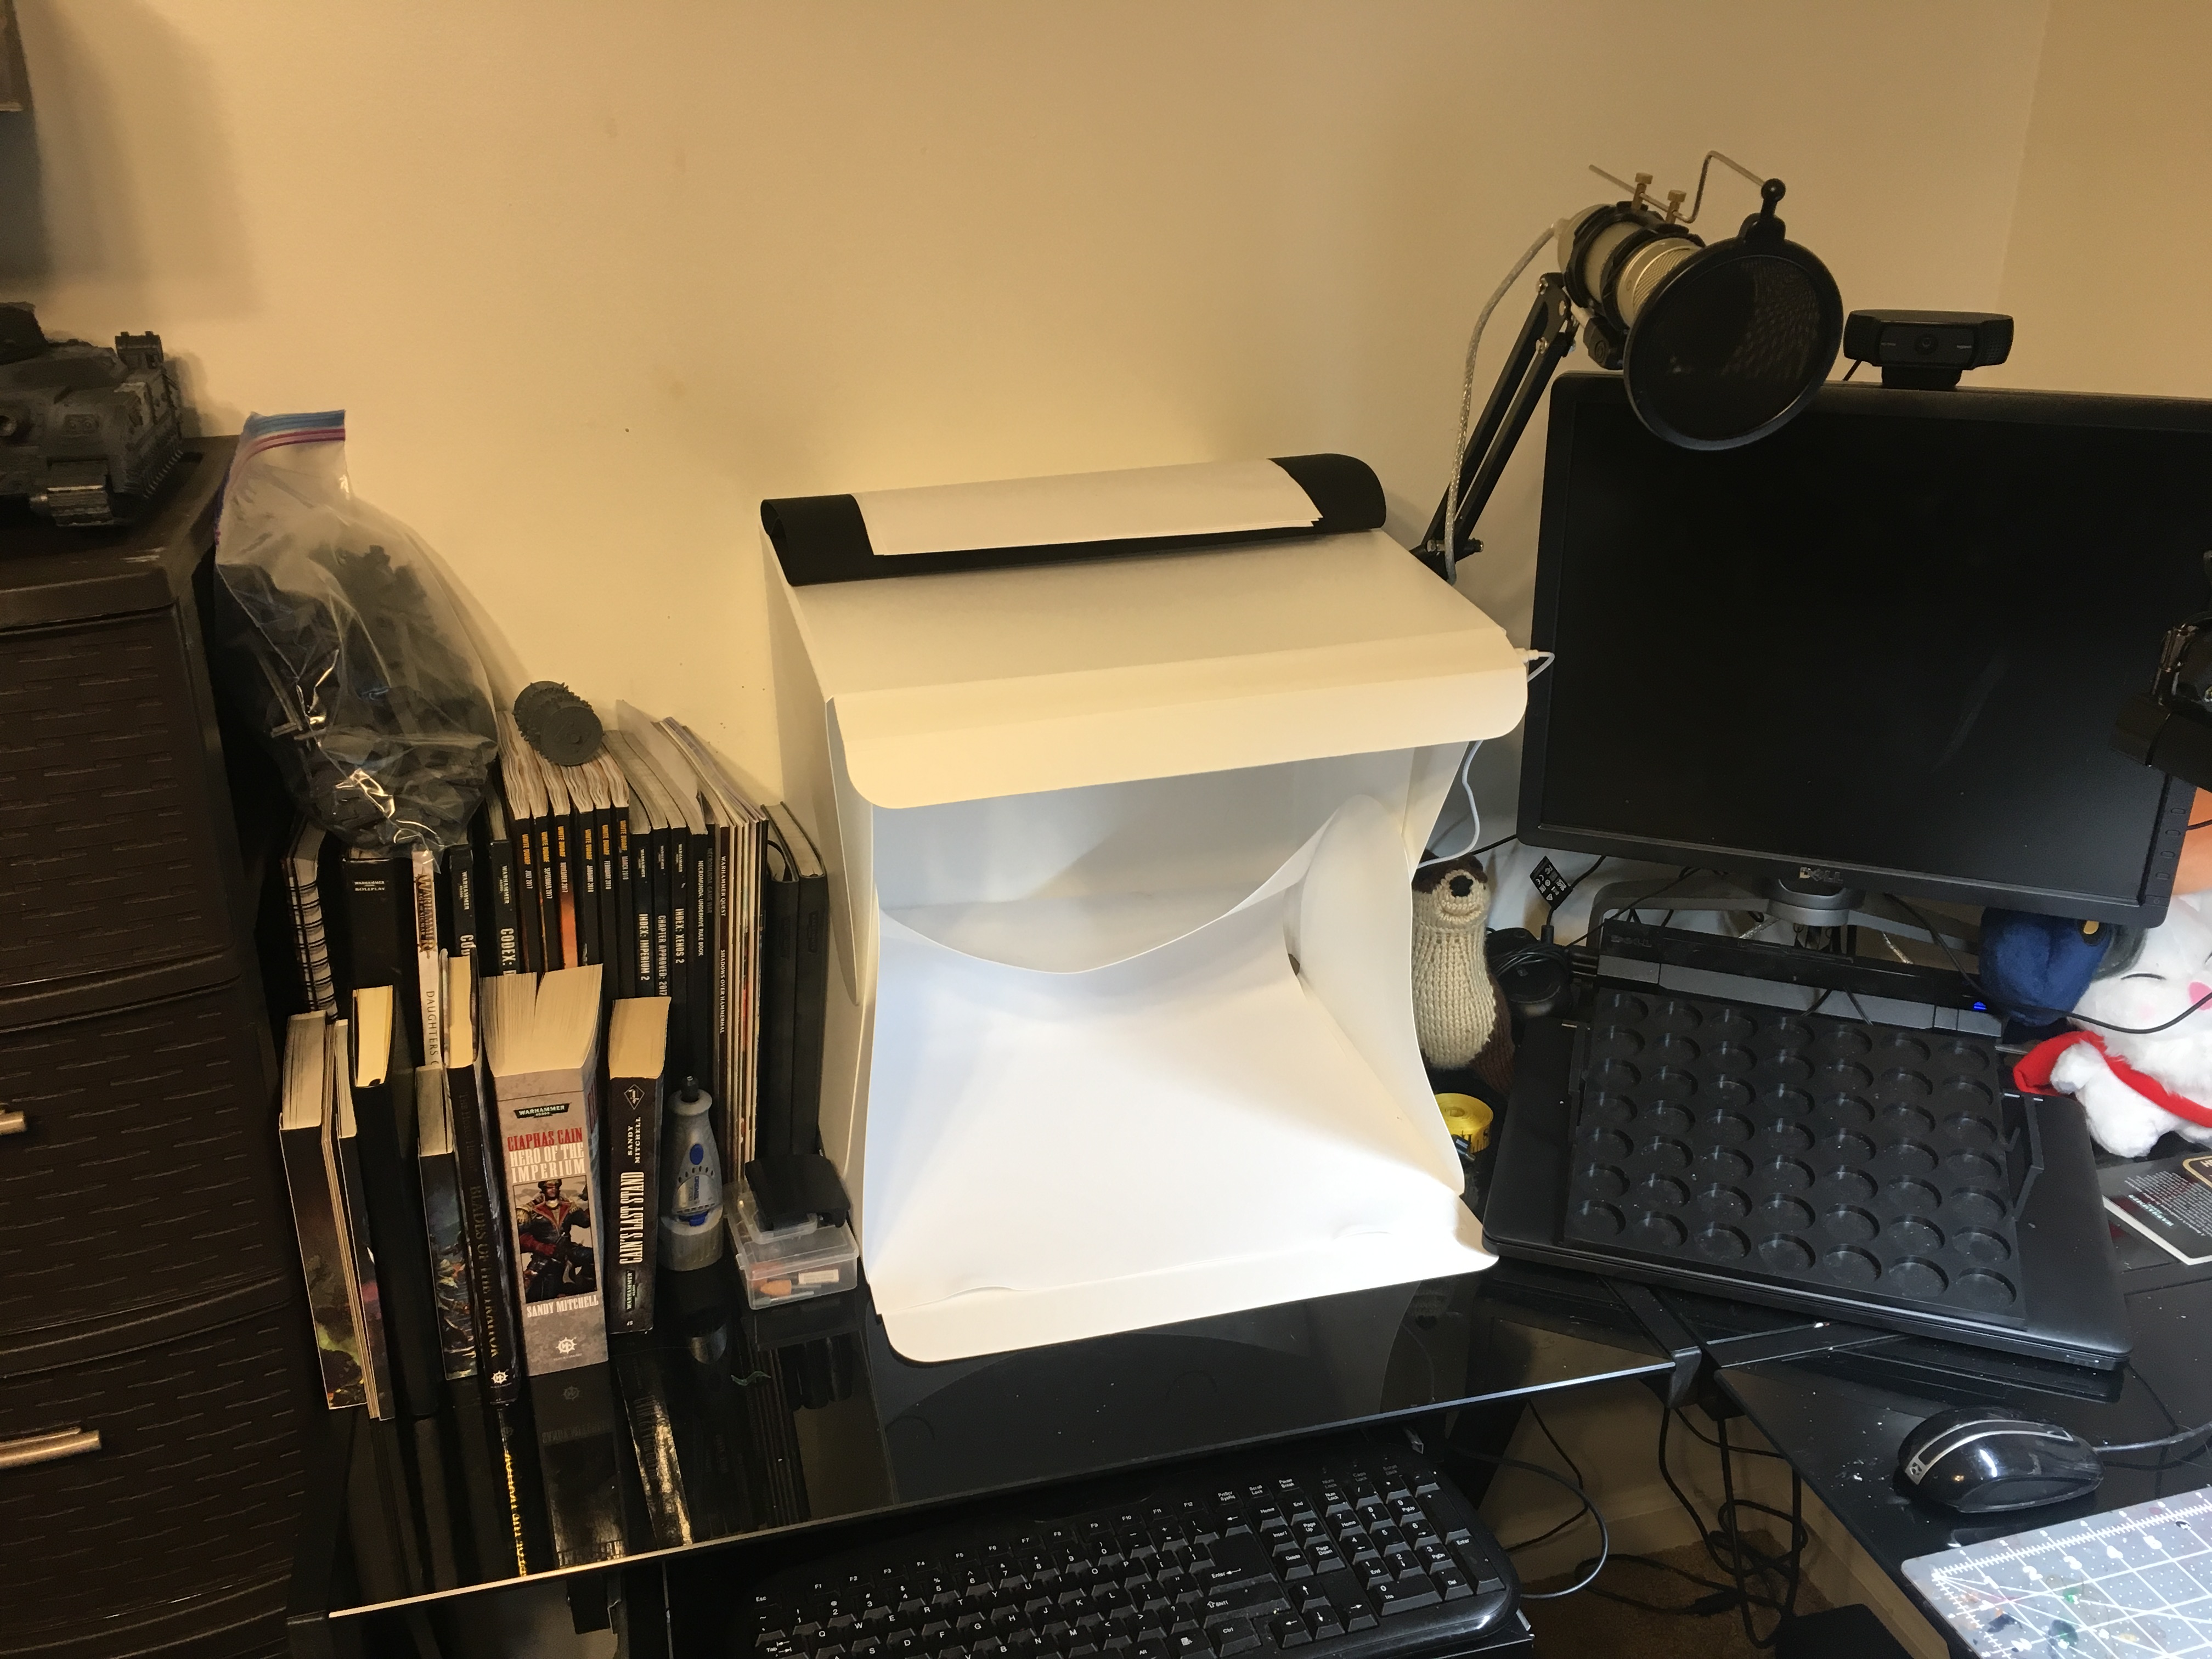
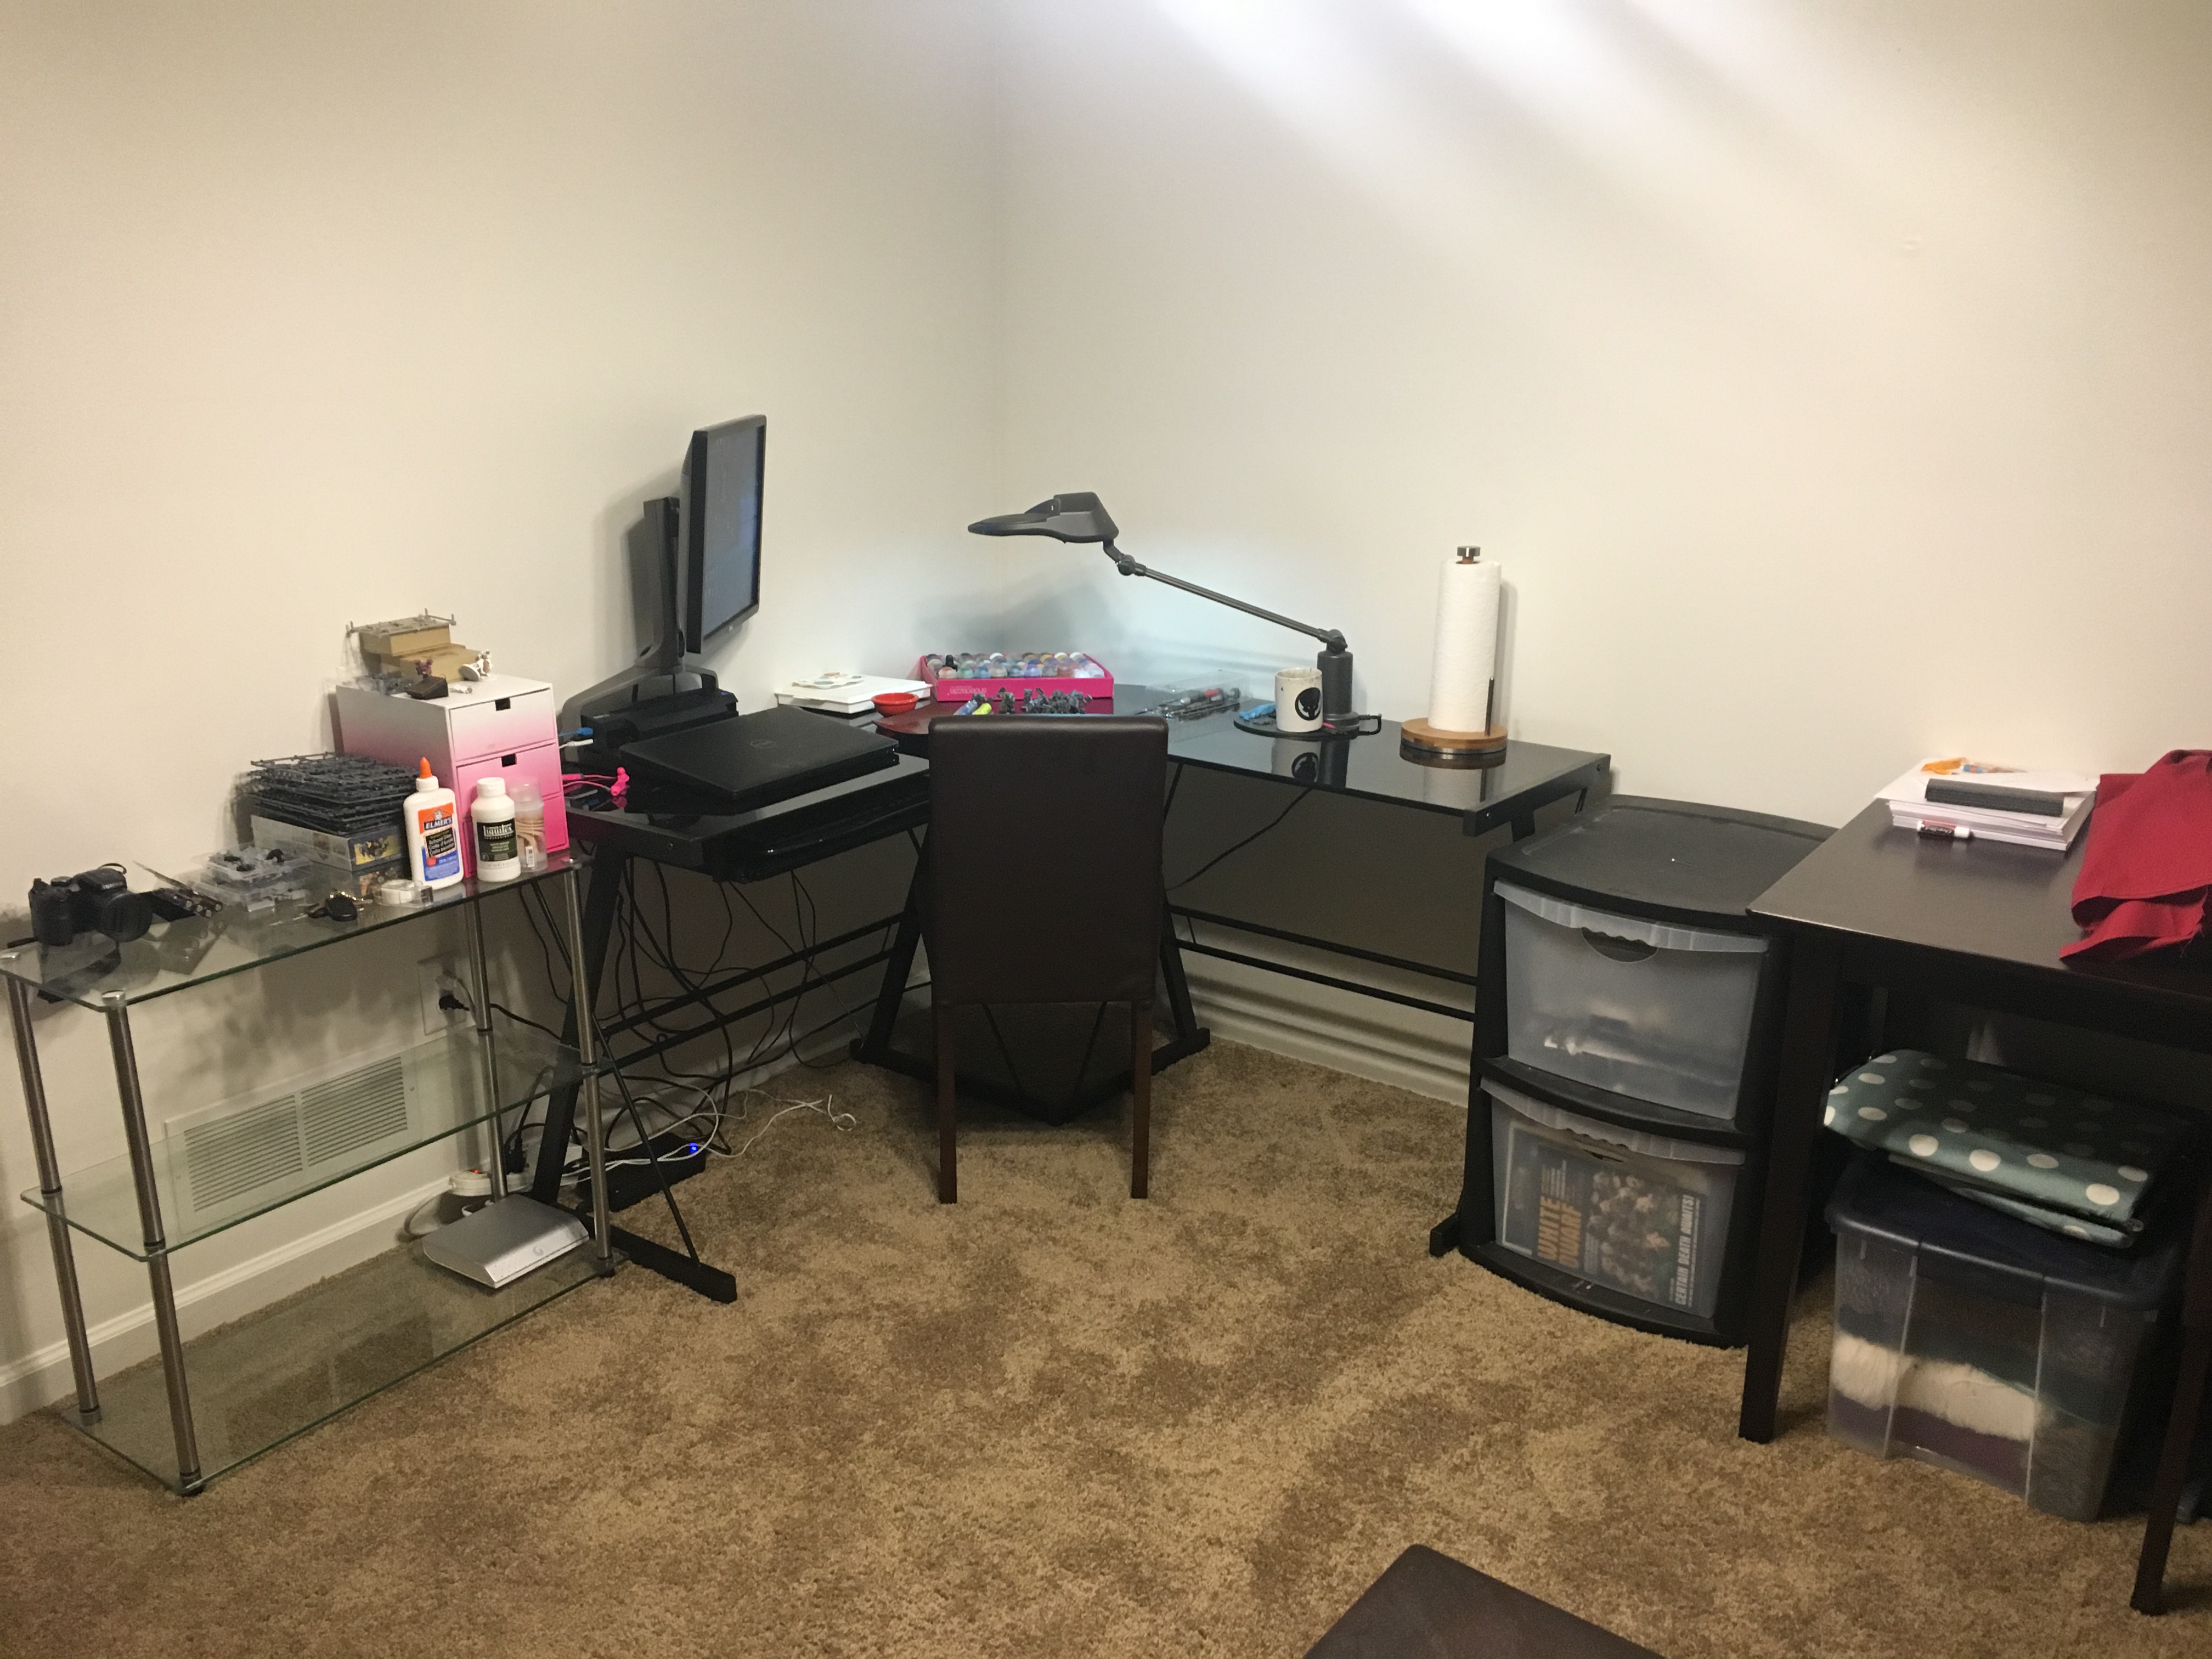 I had found a cheap L shaped desk on craigslist and thought it would look great in my living room and serve for some more hobby room. I had a docking station for my laptop, so I used it as a duel purpose area, not knowing how key this would be until later. I also added storage areas on both sides; a glass shelving unit for my tools and supplies and a plastic storage cabinet for sprues. My paints simply went into a shoe box lid, at this point. They would not stay there for long, however. Even at this point, I was already awaiting a solution.


 I trimmed the spikes off the front and back, as well as cleaned up the rope, stone and other non wooden parts to create this frame. I wanted something even more feral looking than the rest of my army. I envisioned a cart, maybe scraps from a previous wagon that had an explosion and was repurposed. Perhaps something even pulled by an animal…

 I cut the front off, and added some more side plating from a separate wagon kit. The large wooden triangle frames came from the warpfire cannon kit and simply lined up and were glued in place. At this point I was firmly invested in a pull cart wagon. All it needed now was something to pull it.


 Here is a Battlewagon lined up side by side, just to show the Squiggoth’s footprint.


 Skin on the trukk boyz was done with an ink and then a series of washes. Anything with ork skin on it received a corax white spray primer coat. Once primed, I used yellow ink (from the old GW hex pots), agrax earthshade, riekland fleshshade, and then two coats of biel tan green. The bottom lips were screamer pink, pink horror, and then fulgrim pink. To emphasize the ridged lip look, I left the previous layer showing in recesses (sometimes creating my own “recess” for the look), almost dotting with fulgrim pink as the extreme highlight. I went with a hammered brass look for the spears: brass scorpion washed with agrax earthshade, followed by a light highlight of stormhost silver on the edges. The purple mohawks were genestealer purple, druchi violet, then genestealer purple again, as a highlight. Any face paint was simply pallid witch flesh flowed by some blood for the blood god, made to look like a streaked hand print.
 Everything non-flesh oriented received a primer coat using Rynox Hide spray. While a full write-up of my metal process is coming, I will discuss quickly here. For my orks, I use rynox hide as a base. My goal is to get a really cruddy looking metal, so I think my leadbelcher a little more than normal for my basecoats and I DON’T get a solid coat of it, purposefully. This allows some of that rynox hide to poke through in areas. Then, I use both Agrax eathshade and nuln oil to really make it scummy looking. Then I go straight to stormhost silver only hitting where the light would cause an extreme shine, leaving the rest dingy from the wash.
  Wheels and pants on all the orks were done the same. I used Dark reaper as a base, washing with nuln oil, then doing a light highlight of dark reaper once more. Skulls and teeth were zandri dust, agrax earthshade and ushabti bone. Yellows were Averland sunset, agrax earthshade, averland sunset again, then Yriel yellow. Leather cuffs and straps were Doombull brown, druchi violet, then mournfang brown. On the bikes, I used palid witch flesh and then waywatcher green glaze over top.
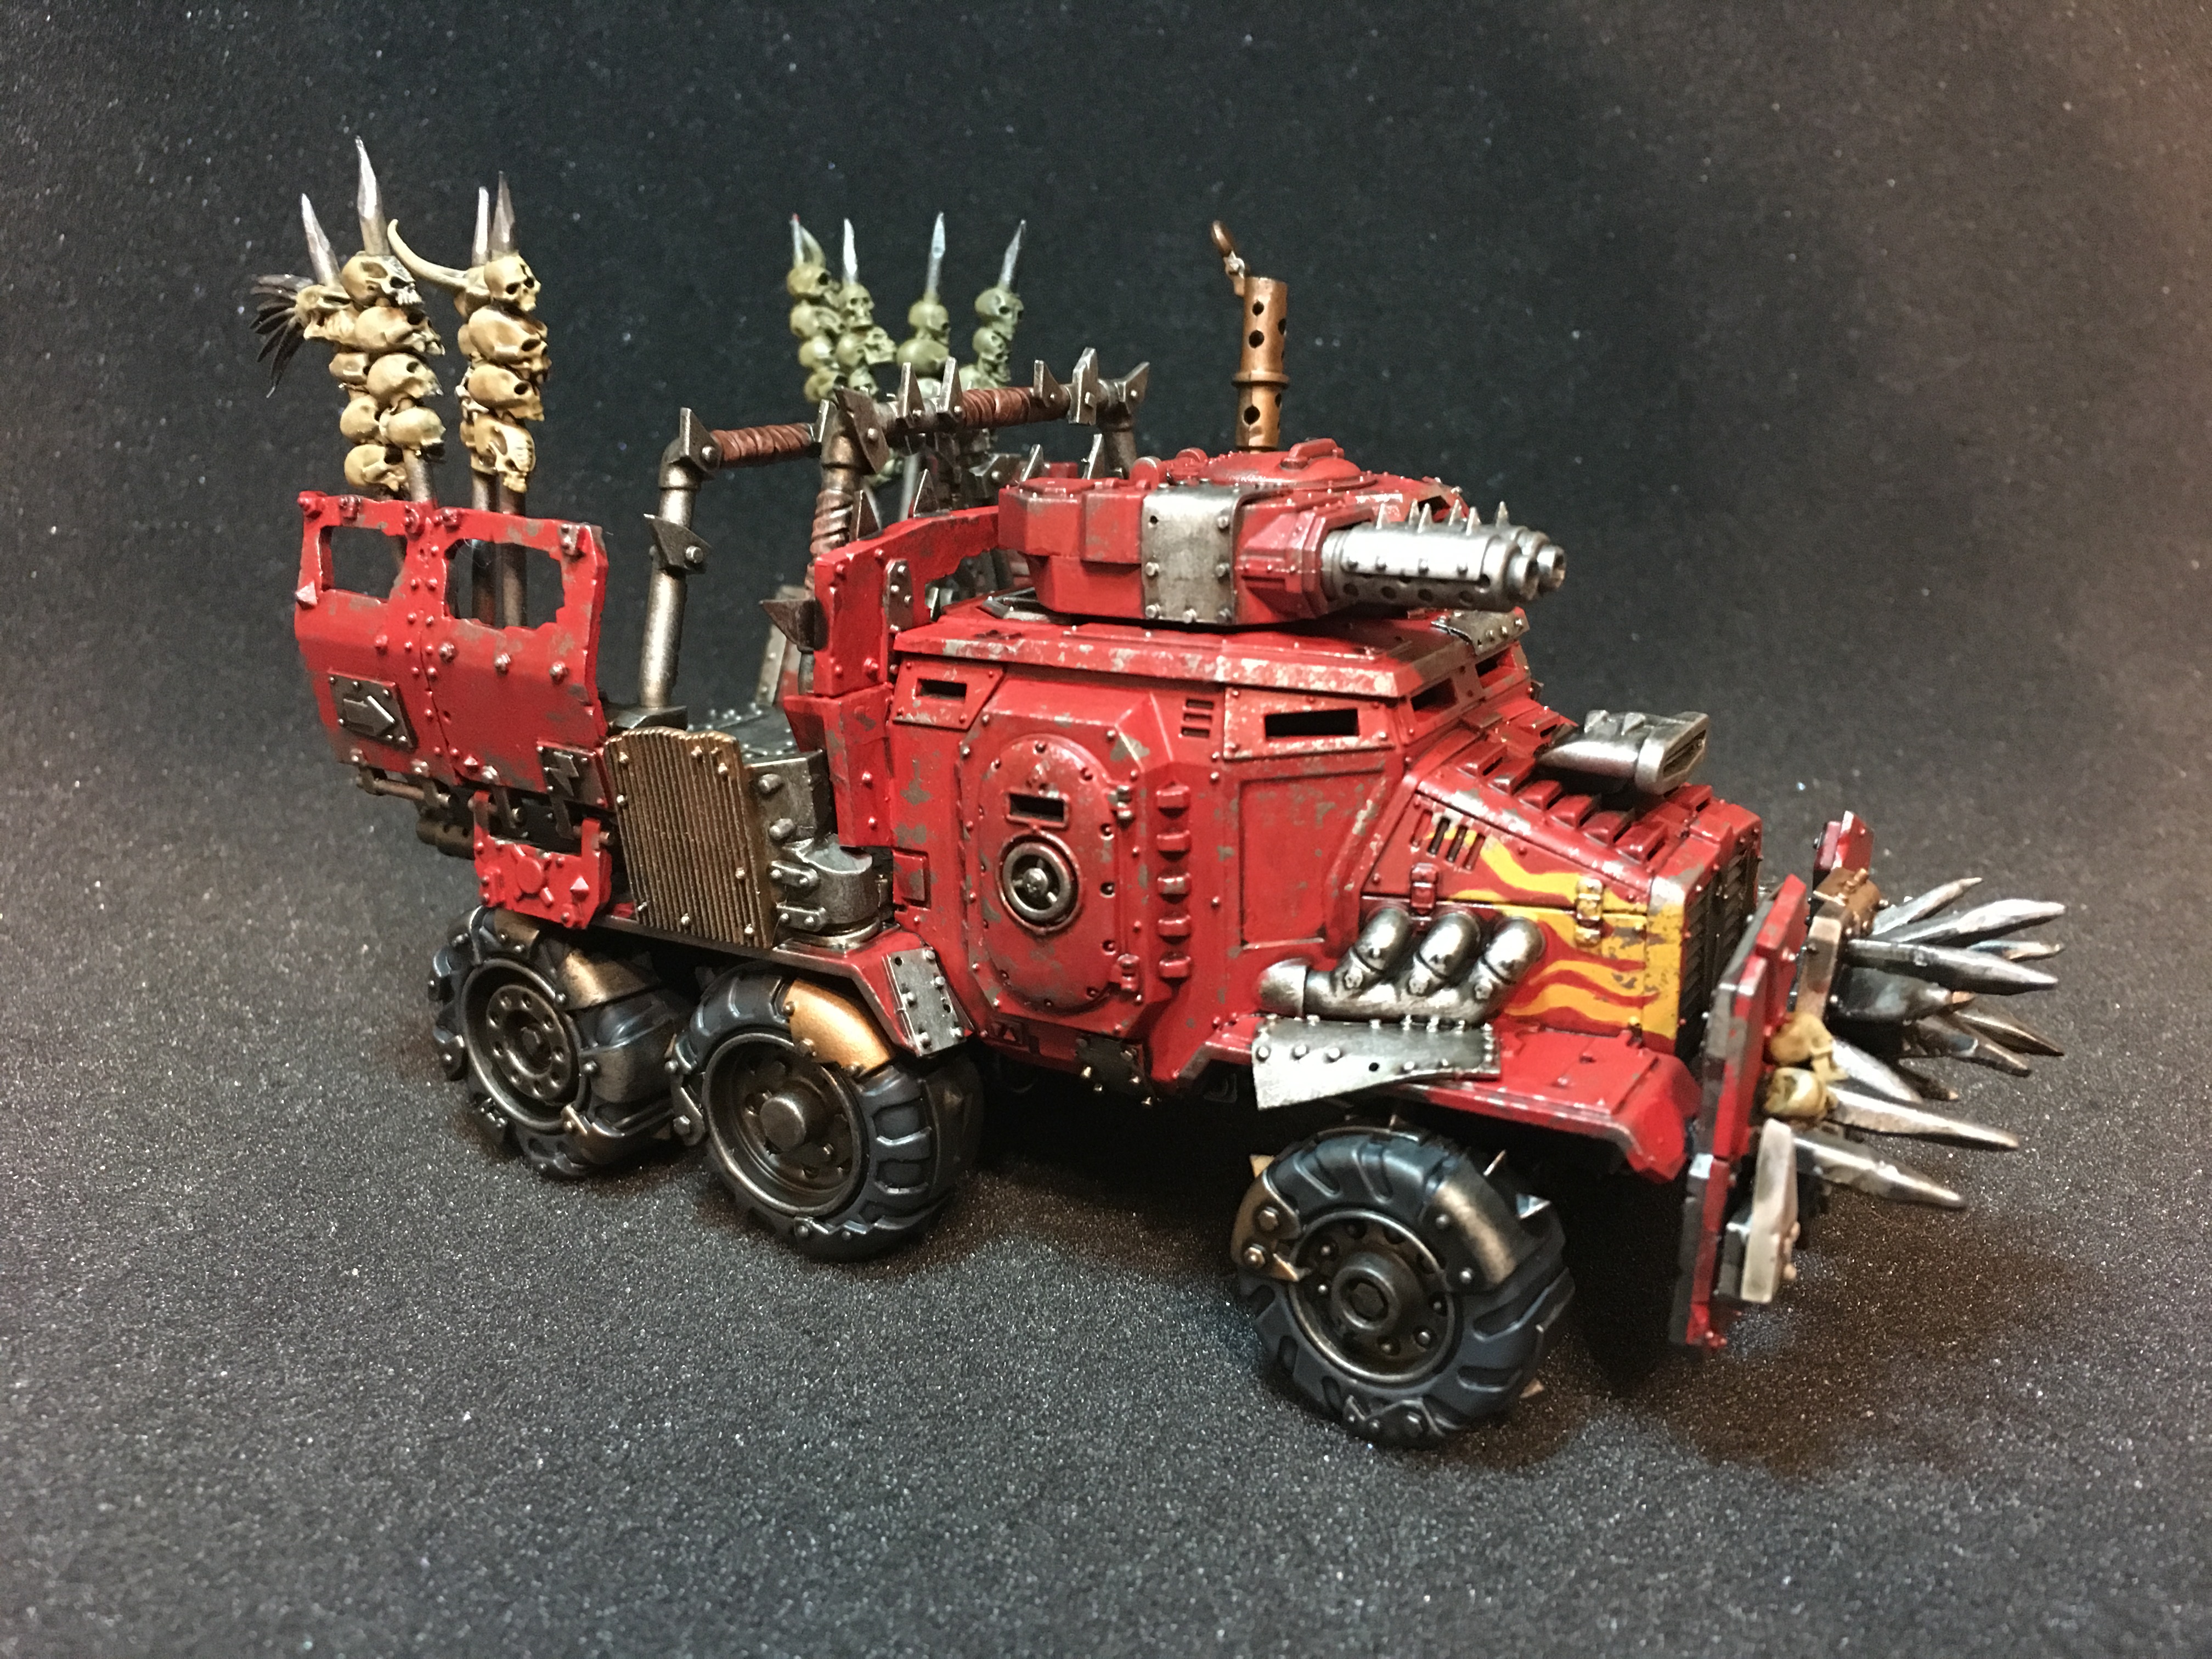 The red on all models started with a solid base of mephiston Red. Agrax earthshade was used as a shade, with mephiston red going back over as the first highlight. Evil sunz scarlet was lightly used as a highlight. The only deviation here was on any eyes. I used a faint extreme highlight of pallid witch flesh on those. Leadbelcher was used, with a piece of sponge, to create all of the chipped weathering, while sylvaneth dark was used as the dust effect.
 The skin on the warboss was slightly different than the rest, to make him look darker. Yellow ink, agrax earshshade, nuln oil, coeliac greenshade, athonian camoshade, and finally biel tan green made up his skin. The burnt metal on his barrels was added after my usual metal process, by doing some overlapping drybrushing. Brass scorpion, genestealer purple, and macragge blue were the three main colors. I worked them back and forth until reaching a gradient I liked, also lightly adding druchi violet and drakenhof nightshade at edges, between stages to try and assist in the fading.
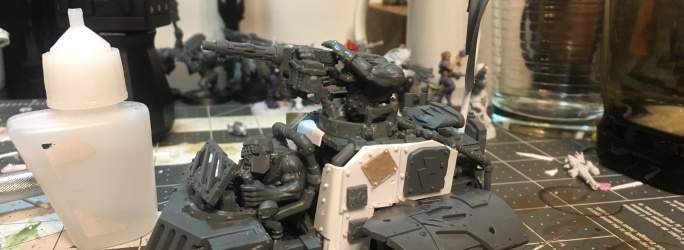


 I may have gotten a little build happy, finding a groove, and pictures went to the wayside. Not to fret, I shall explain!
 I added some piping, cut from the ork trukk turret, to stabilize the turret base. Using the rest of the trukk turret, I created a bit of a roll cage, seen to the right. It was pieced together using plastic rod, ork trukk, and mek gun bits; used to hold the turret in place and also wrapping around the engine. I snipped off the parts of the old taurox truck bed, at the tail end, to make it flush and sat the ork trukk engine in the space between the cage.